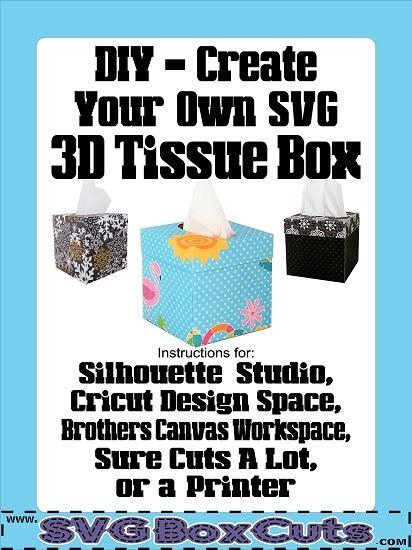
NEW PRODUCTS


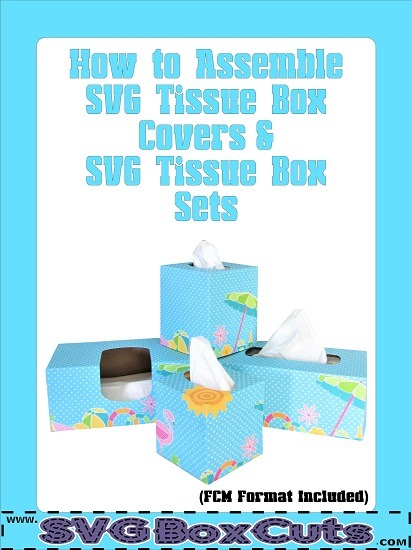
This page will give an overview of how to assemble our Large SVG Tissue Box Covers, Cube SVG Tissue Box Covers and SVG Tissue Box Set.
How to Assemble Large SVG Tissue Box Covers for Puffs and Kleenex boxes.
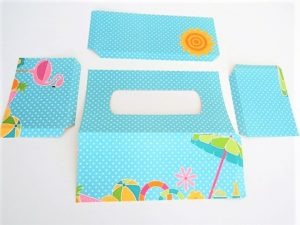
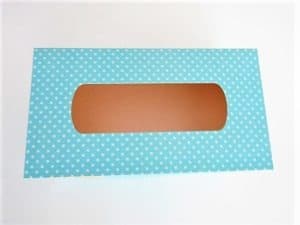
The zip file contains two templates to create 3D tissue box covers for large tissue boxes. One template has a long cut out for large Kleenex boxes and one template has a top-front cut out for large Puffs boxes. (FCM format included.)

1. Cut template with digital cutting machine. (PDF format is available upon request for Wide Format Printers only.)
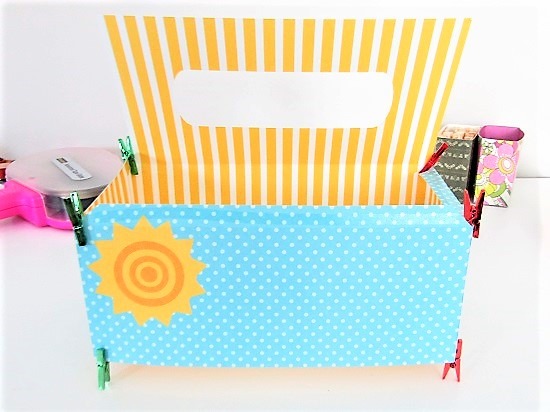
2. Put two sided tape and / or glue on the side tabs.
3. Attach side templates to the large front piece.
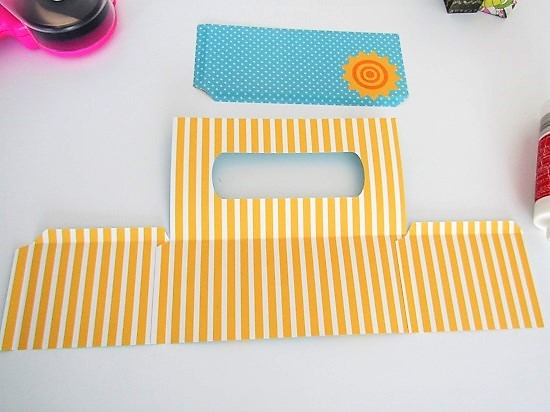
4. Attach side templates to the back piece to create a 3D rectangle.
5. Put glue on the top tabs (If using two sided tape I suggest applying it at the same time you put it on the side tabs.)
6. Press the top down on the tabs.
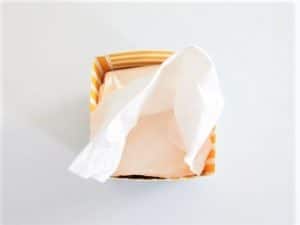
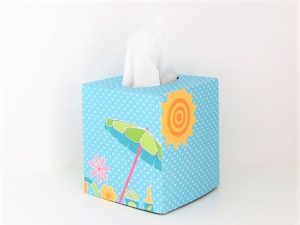
How to Assemble Cube SVG Tissue Box Covers
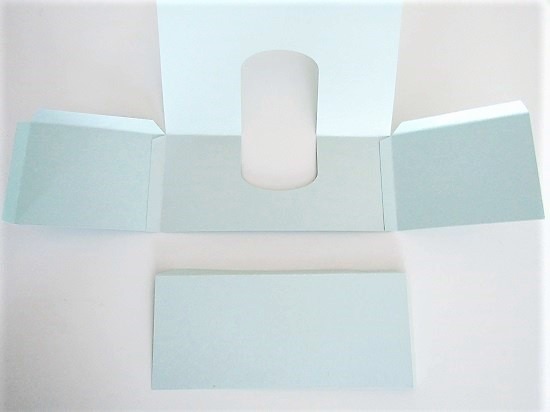
The zip file contains two templates to create tissue box covers for cube shaped tissue boxes. One template is slightly taller than the other because different brand tissues have different heights. (FCM format included.)
1. Cut template with digital cutting machine. (PDF format is available upon request for a standard printer for template with top detached. PDF format for template with lid attached is only available for Wide Format Printers.)
2. Put two sided tape and / or glue on the side tabs.

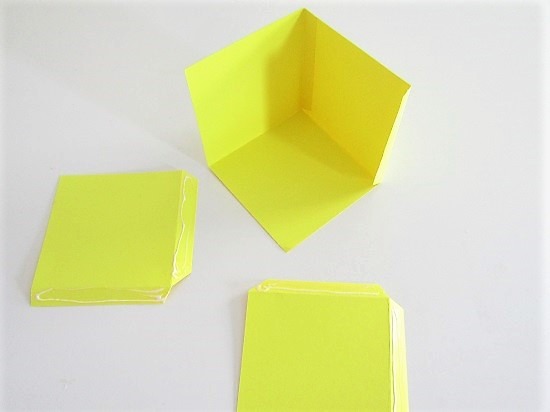
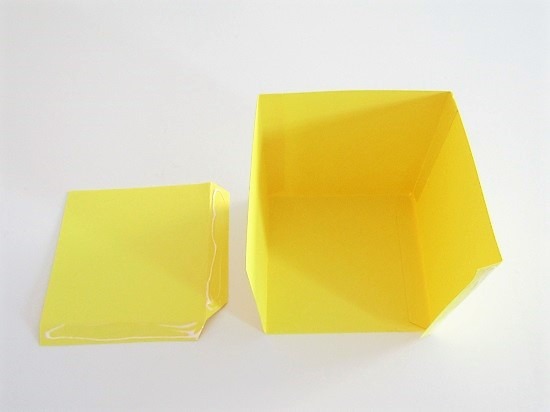
3. Attach side templates to each other to create a 3D cube.
4. Put glue on the top tabs (If using two sided tape I suggest applying it at the same time you put it on the side tabs.)
5. Press the top down on the tabs.
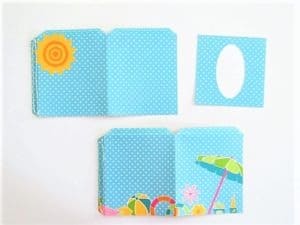
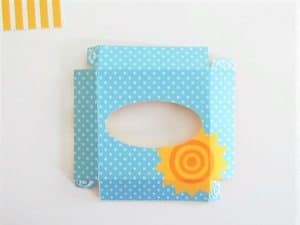
How to Assemble SVG Tissue Box Set
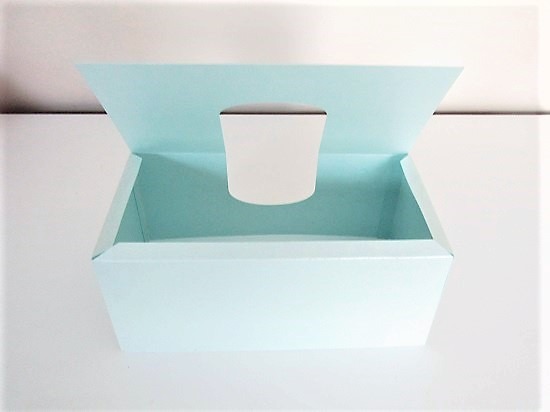
The zip file contains a template to create a 3D box and lid with an oval cut out in the lid, so you can fill it with tissues. (FCM format included.)
Cut template with digital cutting machine. (PDF format is available upon request for standard printers.)
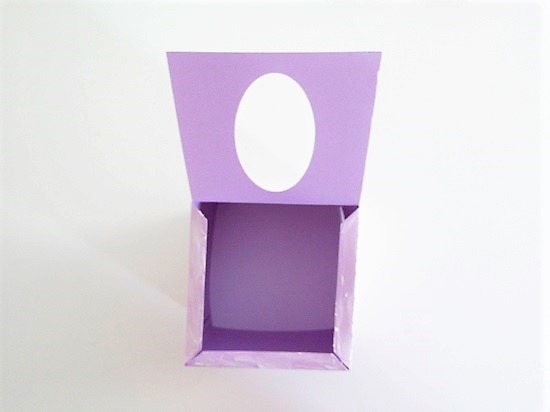
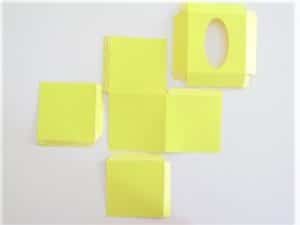
How to Assemble the Lid
- Put two sided tape and / or glue on the side tabs of the lid.
- Attach small tabs to closest side to create a square shape.
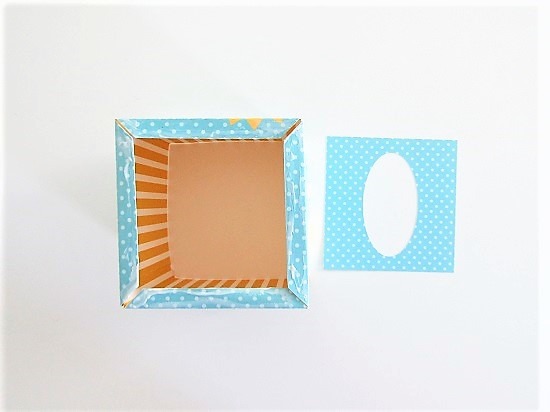
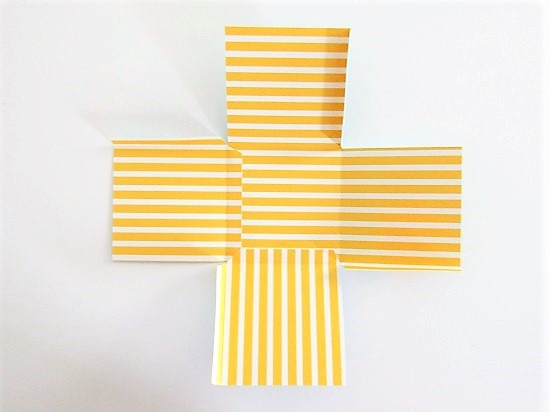
How to Assemble the Base
Option 1:
- Put two sided tape and / or glue on the bottom tabs of the side templates.
- Attach small side templates to the large piece at the base.
- Apply two sided tape and / or glue to the side tabs.
- Attach side tabs to closest side to create a 3D square.
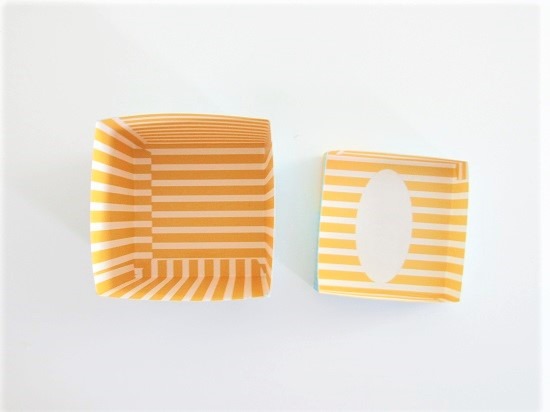
Option 2:
- Apple two sided tape and / or glue to all tabs.
- Fold up the largest template to create a half square.
- Add one more side by joining at the base and side.
- Add the last side by joining at the base and remaining two sides.
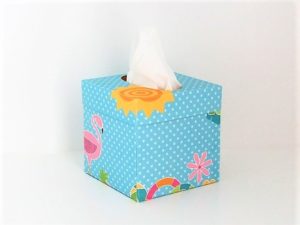
- Fill the completed box with tissues.