NEW PRODUCTS


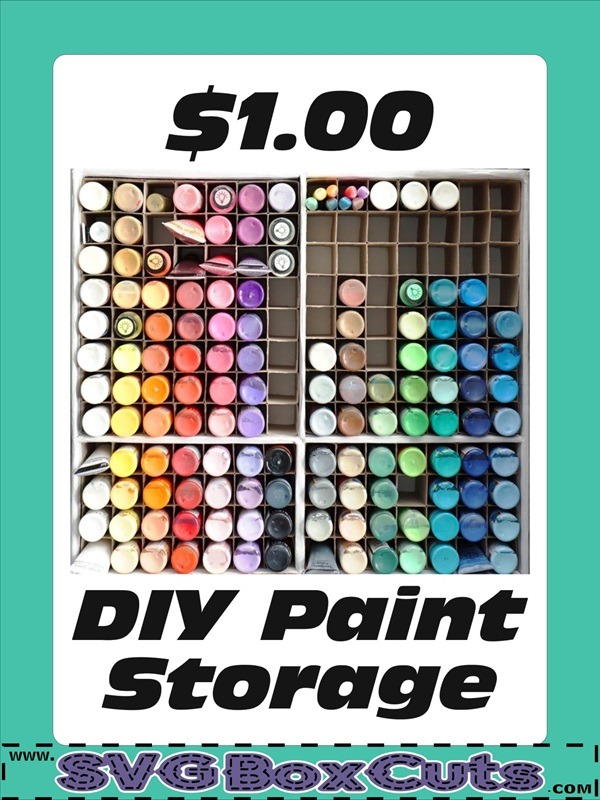
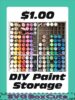
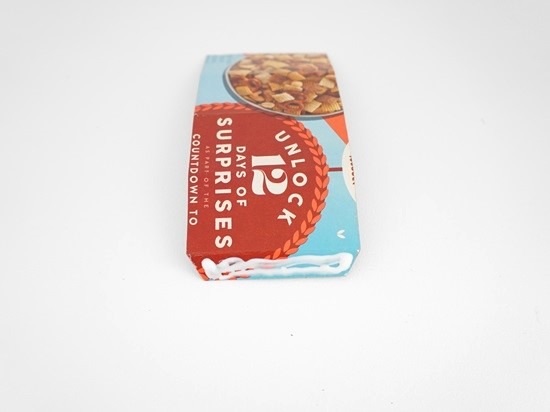
Paint storage for $1. Sound too good to be true? This tutorial will demonstrate how I created my paint storage with a $1 SVG box template, scrap cardboard from cereal boxes (frozen pizza boxes, mac and cheese boxes, any cardboard box that will accept adhesive), glue and paper. The cost can increase if you decide to add multiple sizes of paint.
I love craft supplies! I think I love collecting craft supplies more than I use them. It’s just so hard to pass up a good deal. 😉 I also love to organize! The two combined create a lot of “projects” for me to organize all my craft supplies. I am going to start a new series of blog posts showing different ways to create cheap storage with scrap cardboard. I hope you will find these useful and enjoy creating an organized craft room.
What to consider:
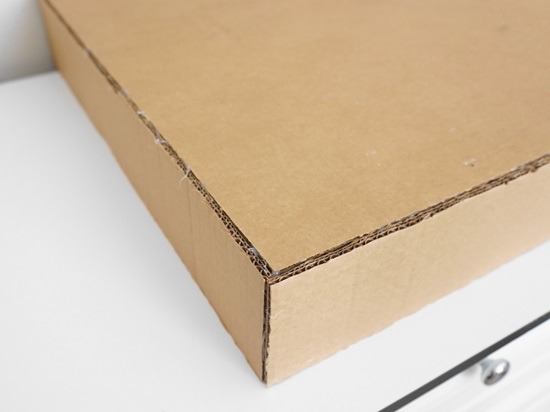
- Collect cardboard boxes from anything you can. Try not to use cardboard that is excessively shiny, as glue tends to become unstuck.
- Figure out what height “box” you need for your paint bottle size.
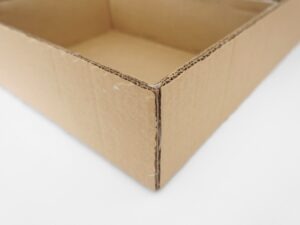
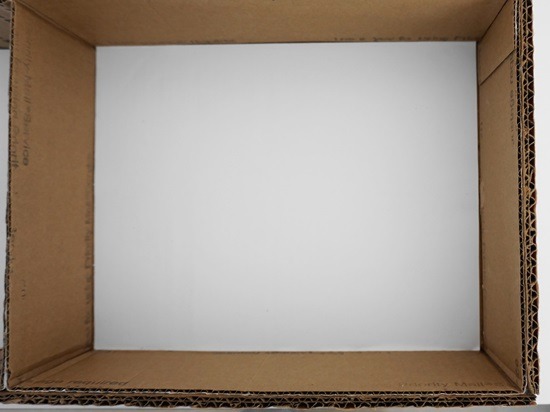
- Decide if you want to create a custom size storage system or place the paint storage boxes inside of a larger box.
This is a great way to upcycle sturdy shipping boxes.

Assemble SVG Boxes
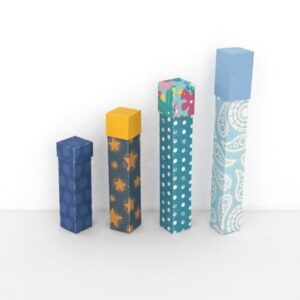
- Purchase your template.
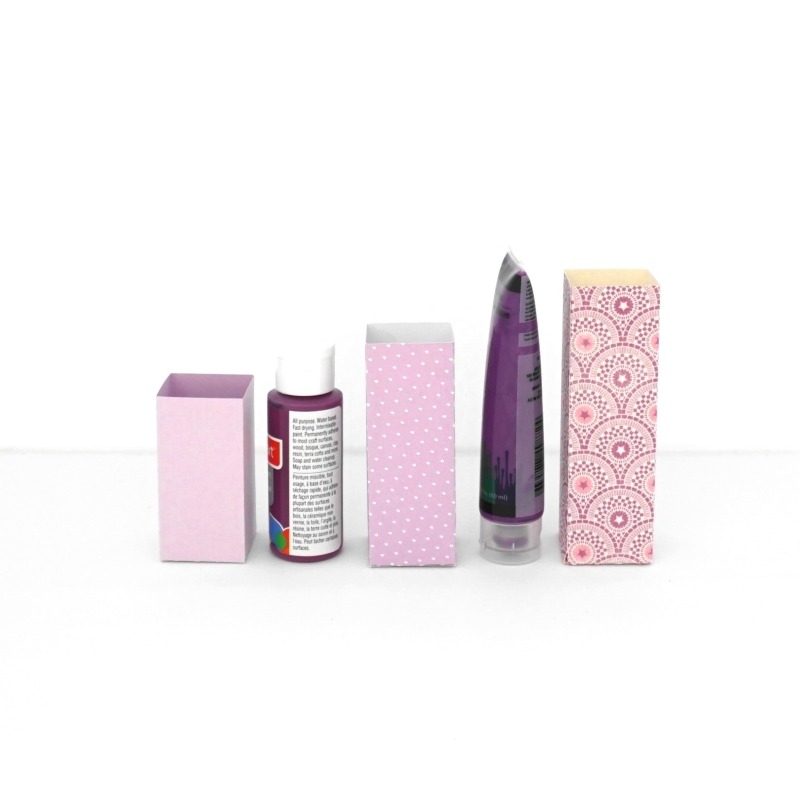
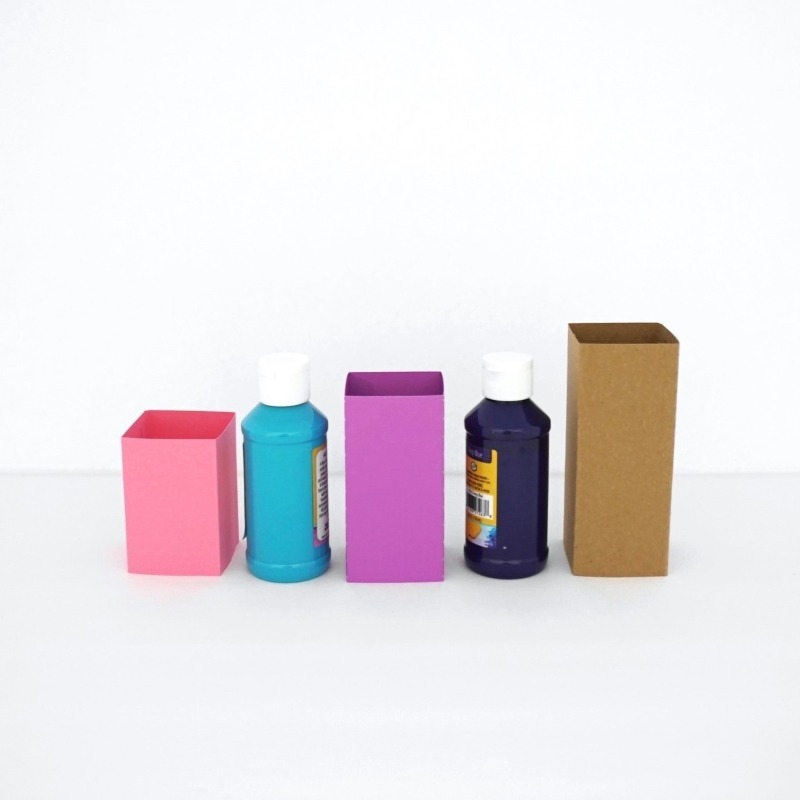
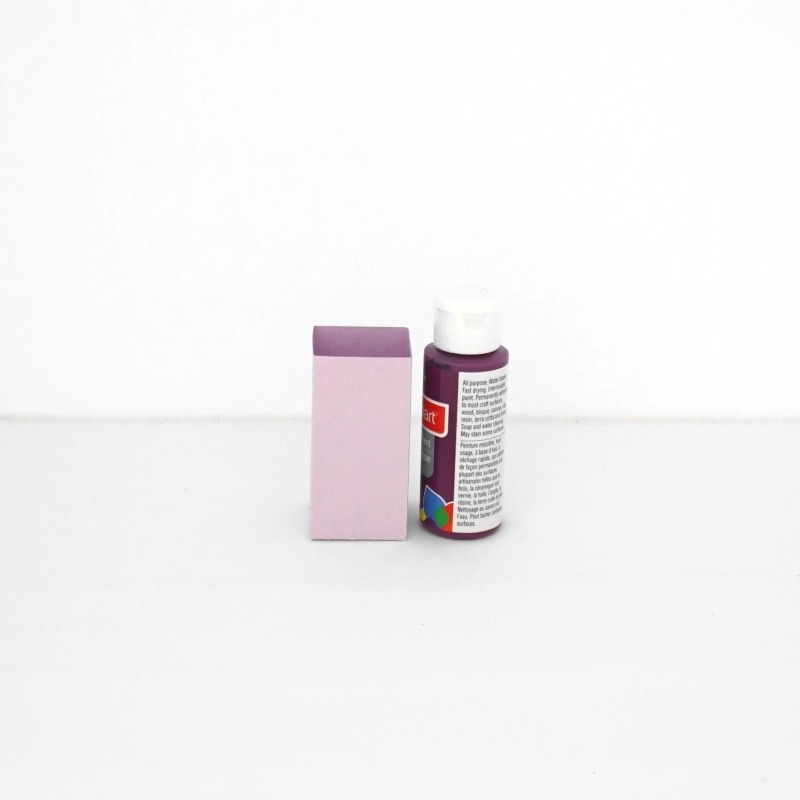
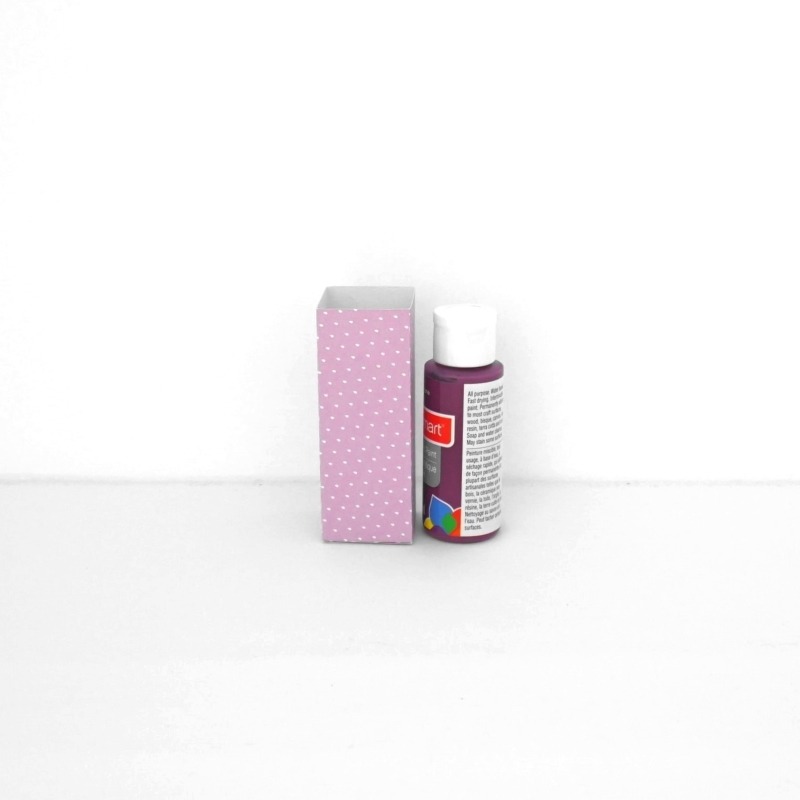
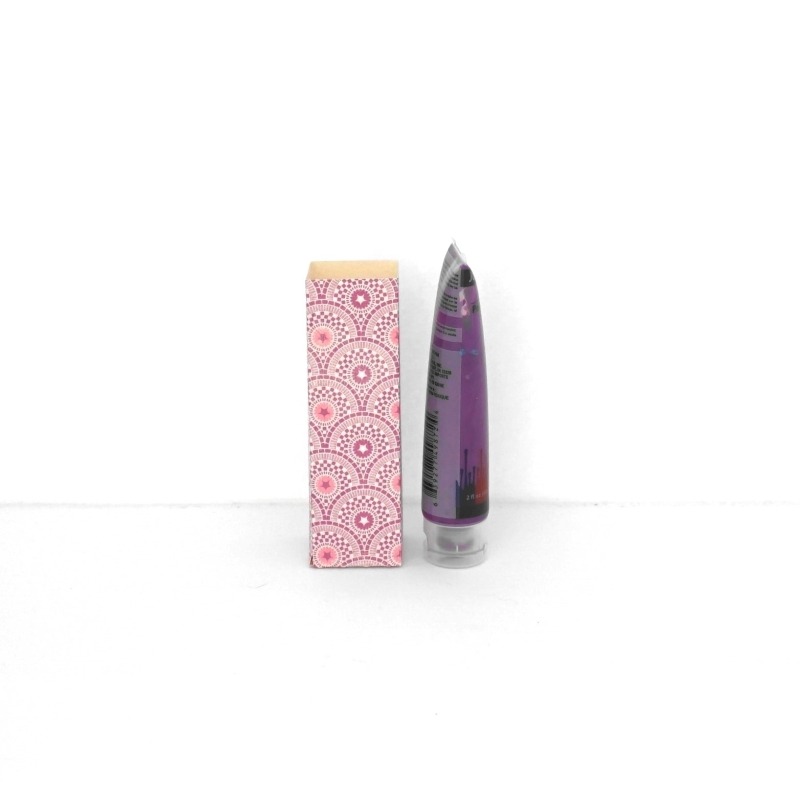
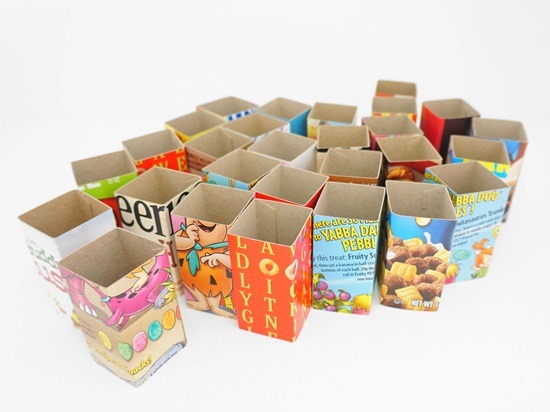
For the acrylic paint I used the 1.5×1.5×3 SVG Box Base because I wanted the bottle to stick out a little to make it easy to grab. The 1.5×1.5×4 SVG Box Base would be a great choice if you wanted to store your paint in a box with a lid. The 1.5×1.5×5 SVG Box Base is great for the tubes with a little room left to grab a hold of it.
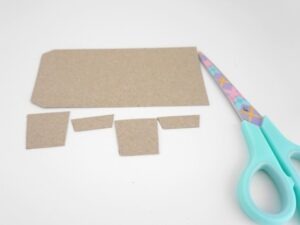
- Cut out your template using your favorite cutting machine.
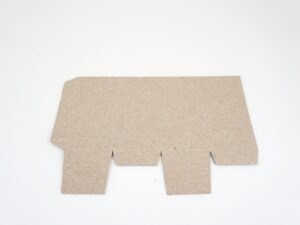
- OPTIONAL: Cut off the bottom of the template.
I have now included an option for a BOTTOMLESS box on the product pages to help save you time and skip this step. - Keeping the bottom is a good idea if you are making paint storage without placing the little boxes inside of a larger box. Otherwise, making the smaller SVG box without the bottom will save you time, adhesive and cardboard.
- Place glue or two sided tape along the side tab.
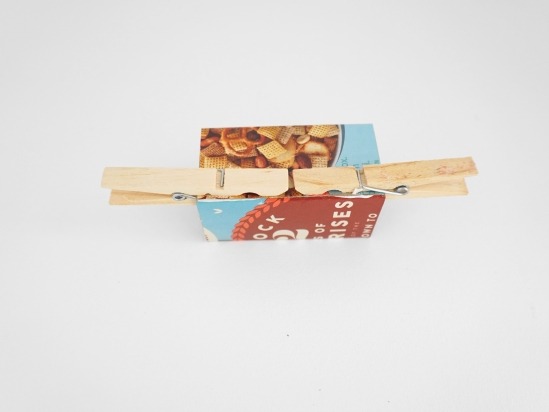
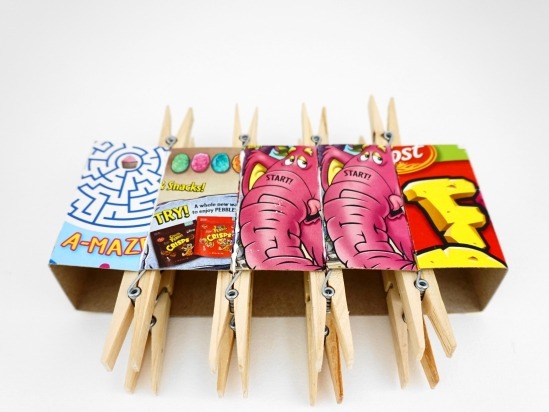
If you are keeping the bottom of the SVG Box follow the instructions included with the download for the bottom. - Optional: placing clips or a weight on the box while it dries will give you a tighter seal. Especially if you do not have time to do this all in one day.
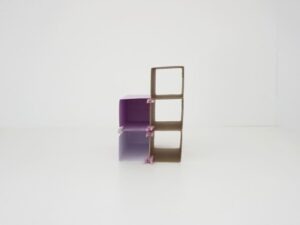
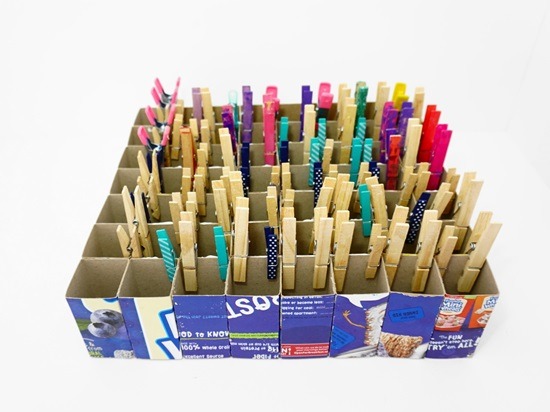
- Assemble as many paint storage boxes as you think you will need.
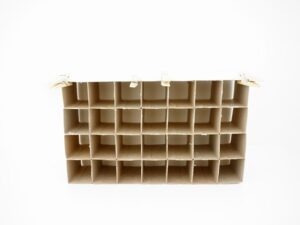
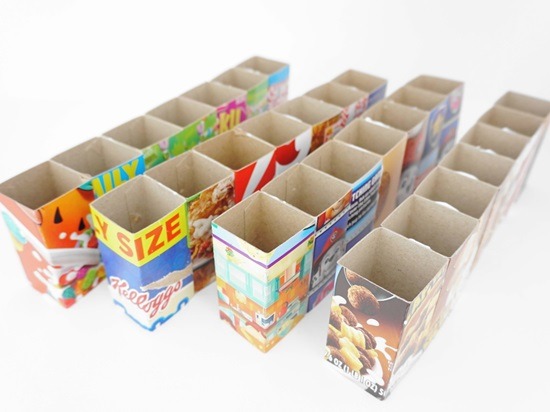
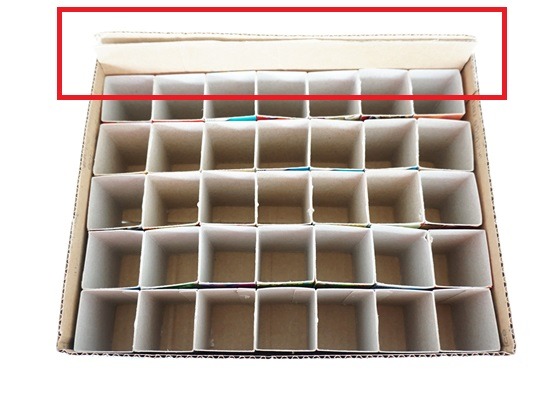
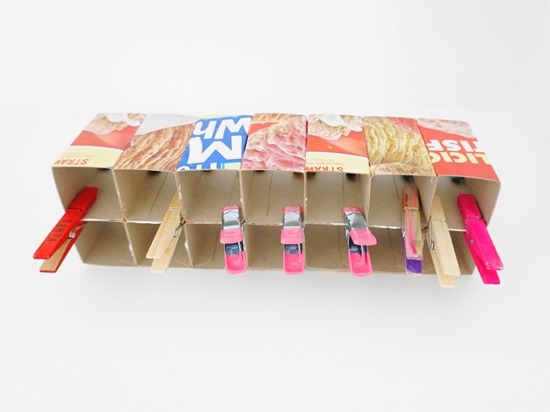
- Glue the boxes side by side to start creating rows.
Optional: Clipping the boxes together while they dry will help to reduce the gaps if you do not have the time to assemble everything inside of another box all at once.
Assemble the Paint Storage System
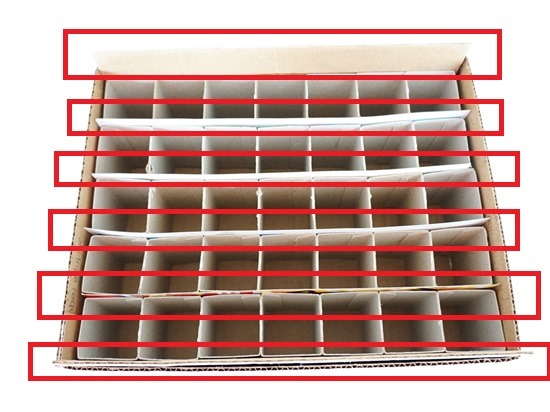
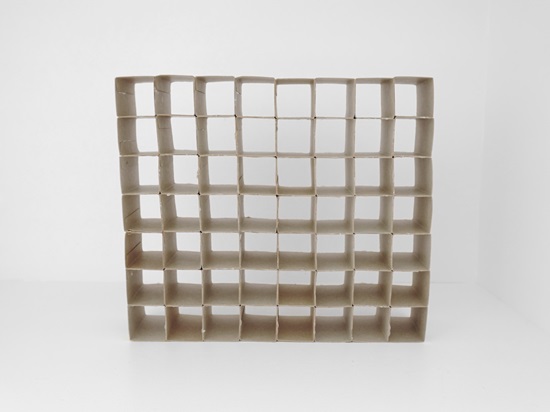
- Create as many rows as you think you will need.
- Line up the rows inside of your larger box to see if you will need to add extra “padding.”
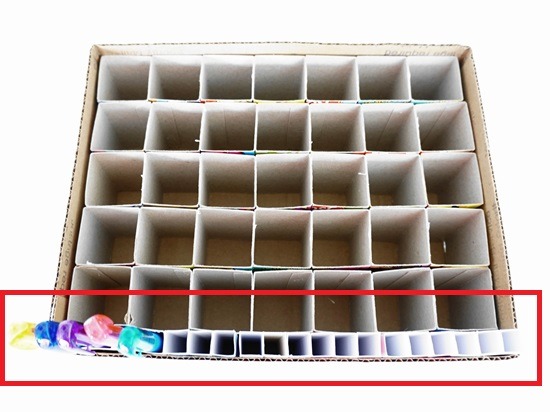
- Decide if you would like to add padding just around the sides or in between the rows.
(This will depend on your preference for looks and the sturdiness of your cardboard for the paint boxes.)
- You can also add other SVG box templates, if you have room, if you would like to store different size paints or markers in your paint storage
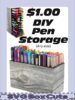
- For the Pen Storage I used 1/2×1/2 SVG boxes.
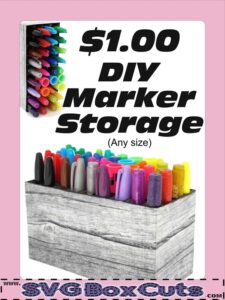
- For Marker Storage I use 3/4×3/4 SVG boxes.
- For my larger paint bottles I used 2×2 SVG Boxes.
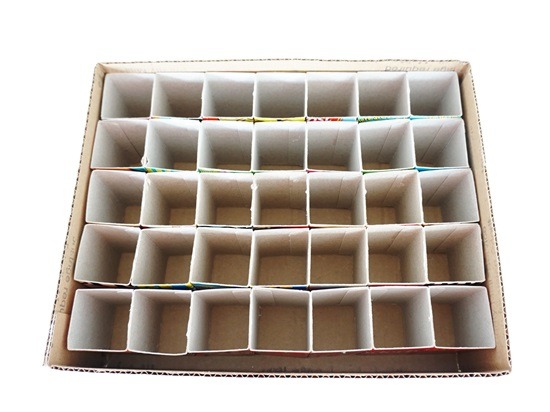
- Next combine all your rows.
- I chose to combine multiple large boxes together.
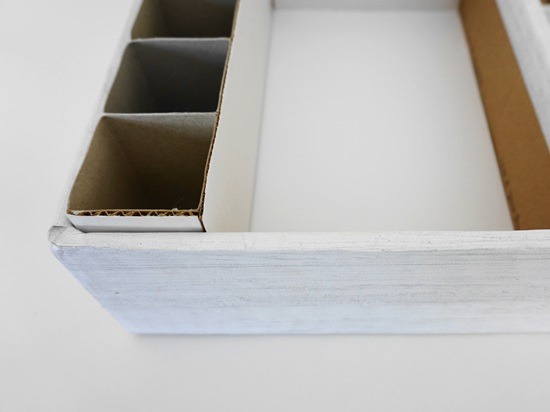
- I glued the boxes beside each other, and added an extra cardboard panel to all four sides.
- I then glued one large additional support to the back of the group of boxes, and tried to get all of my edges to line up.
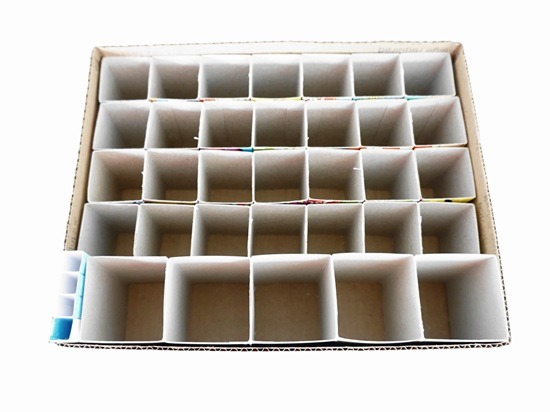
- I chose to place a piece of paper in the bottom of the large boxes because if the storage spaces are empty you can see the back of the box.
- I then glued a wood pattern paper to all four sides of my paint shelf. I wrapped it inside enough so it would hide behind the small paint boxes once they are inserted.
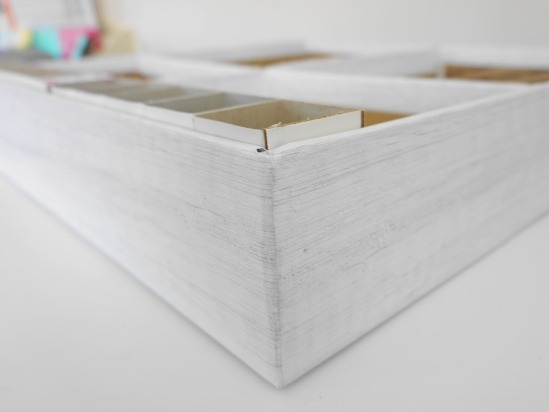
- I also decide to add a white piece of cardboard to the top and sides of the larger SVG boxes I placed in the bottom of my paint storage because they would stick out a little more than the smaller paint boxes.
- I then put glue on all four sides of the prebuilt rows and slid them down into the larger support boxes.
- Optional: Cover the outside paper with Mod Podge for added protection.
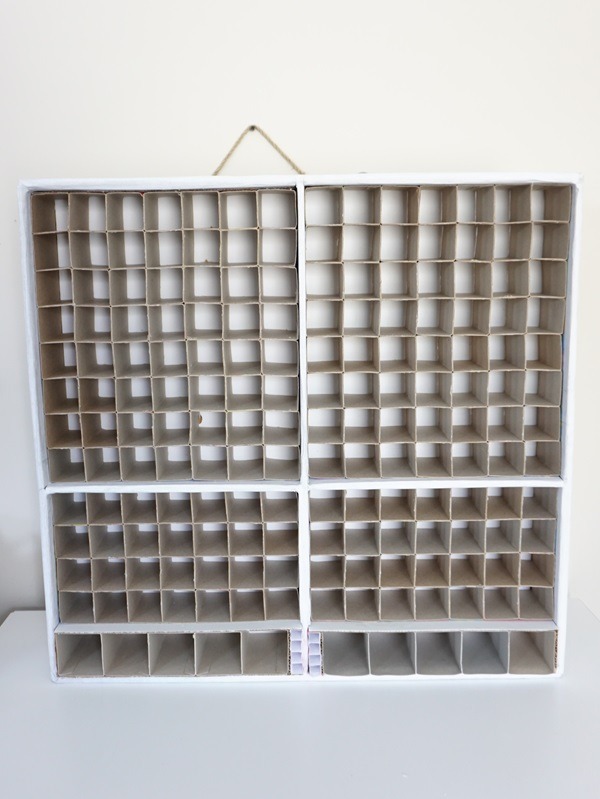
- CONGRATULATIONS! You have now built your own personalized paint storage system.
$1 Paint Storage Shelf
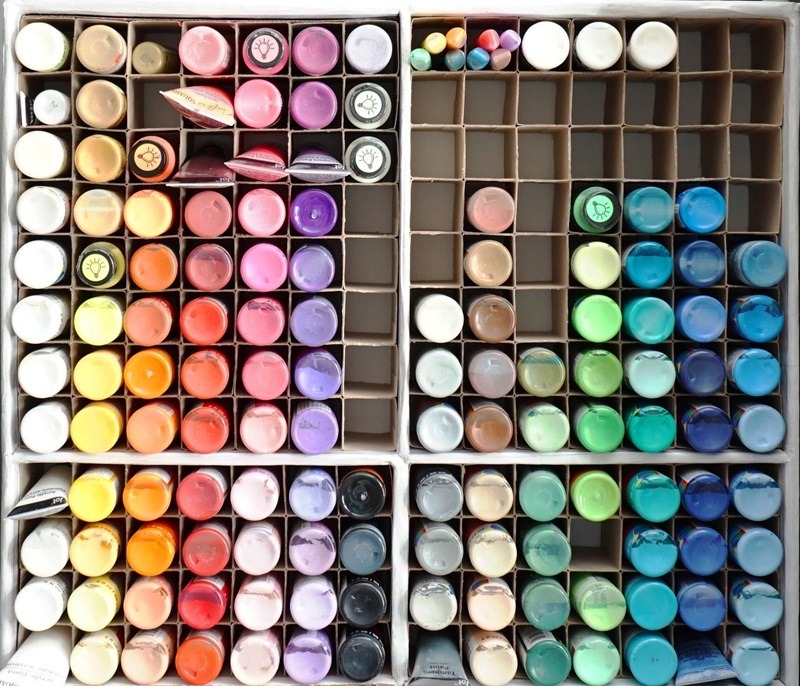
$3 Paint Storage Shelf

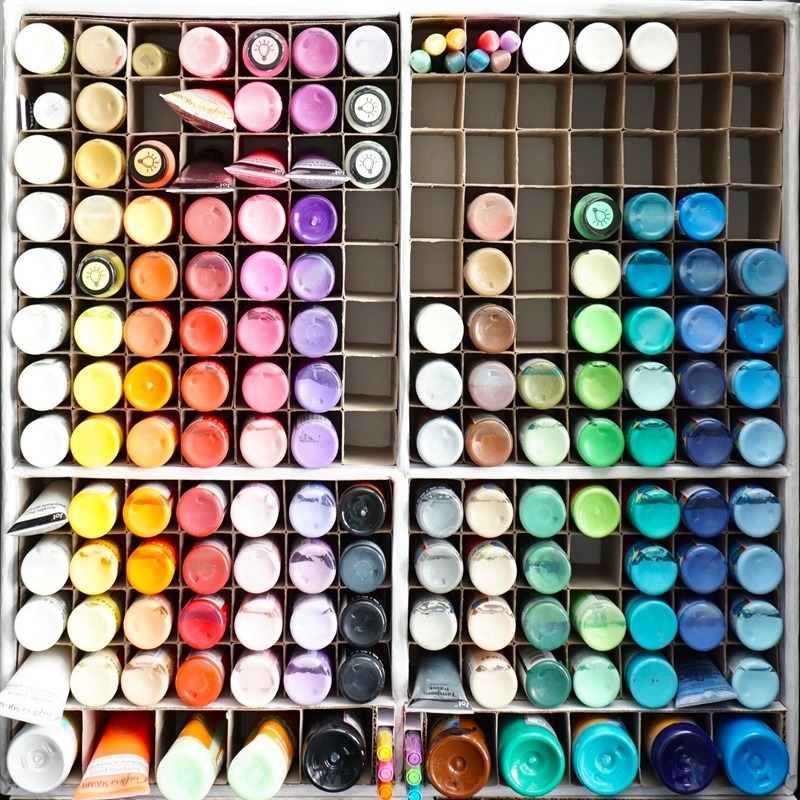
Notice how my paint storage shelf keeps getting fuller since I first made it. LOL.
More DIY SVG Storage

1/2×1/2 SVG Boxes used for SVG Pen and Pencil Storage

3/4×3/4 SVG Boxes used for SVG Marker Storage
2×2 SVG Boxes used for larger SVG Paint Storage bottles.