NEW PRODUCTS


This is a tutorial showing you how to cut our SVG boxes and lids using Cricut Design Space.
*Cricut Design Space has had a lot of trouble with different versions not importing SVG templates “true to size.” If you are reading this at a time when Design Space is either enlarging or shrinking your templates, please see our Template Size Chart to make sure your templates have the correct dimensions.
Uploading the SVG Box Template to Cricut Design Space
1. Select New Project
2. Select Upload.
3. Select Upload Image.
4. Select Browse. Browse your computer until you find the SVG Box template. Click on it. Select Open
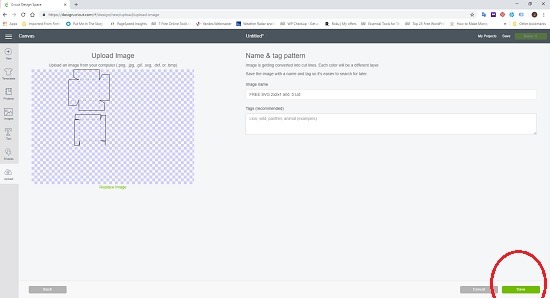
5. Select Save
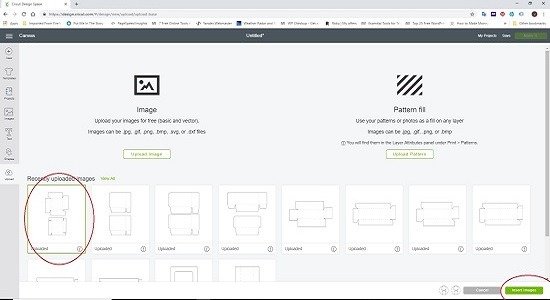
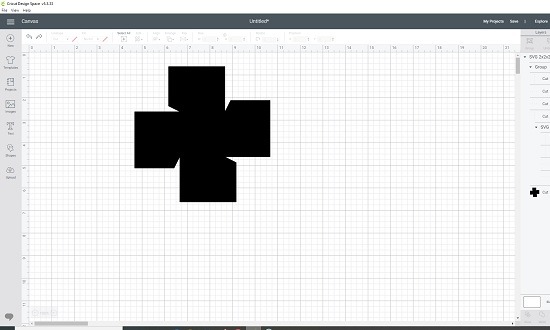
6. Select the SVG and Click Insert Image
Preparing the SVG Box Template to be Cut in Cricut Design Space
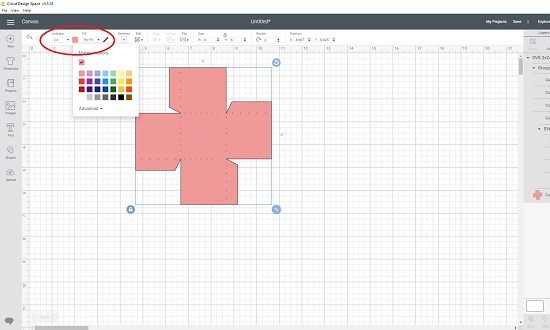
1. Change the color of the template to white (or any light color), so you can see the dotted lines. (The template will open as a black image because it was saved as a transparent SVG.)
- Make sure the template is selected.
- In the top menu set Linetype to “Cut”
- Click the square next to the cut box
- From the color palette select a light color.
- Do this for each template piece.
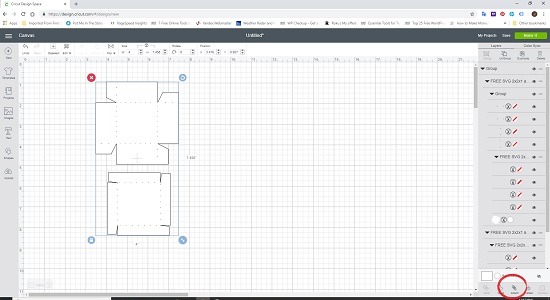
2. “Attach” the dotted lines to the template.
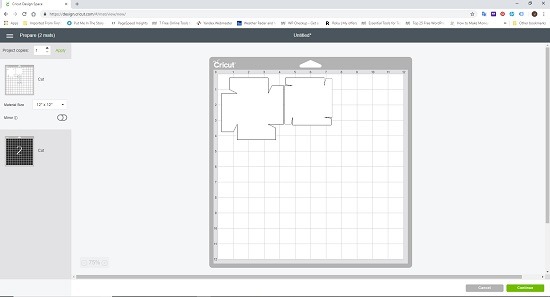
*If you skip this step, Cricut will cut your lines on a separate sheet of paper. (Picture on top shows lines attached. Picture on the bottom shows what happens when lines are NOT attached.)
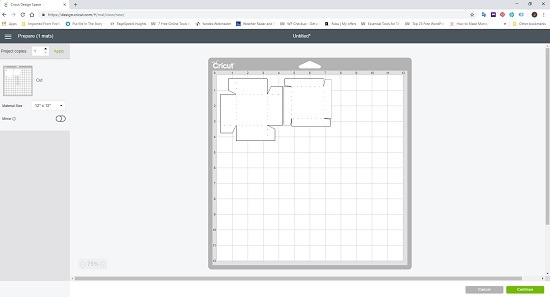
The Picture above shows lines attached. The picture below shows lines NOT attached.
- Select the entire template.
- In the lower right corner, select “Attach.”
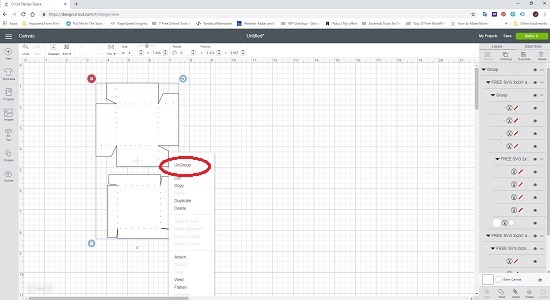
At times if you have more than one template piece you may want to work on each piece separately. To do this you can ungroup the set before attaching the lines to each piece.
- Select the template.
- Right click your mouse.
- Select Ungroup.
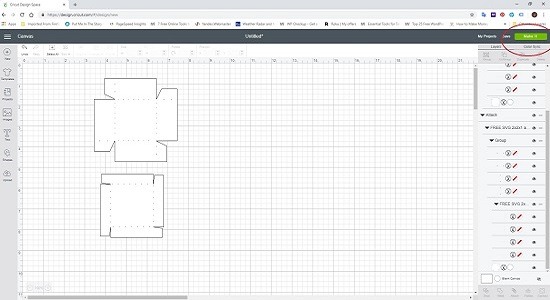
- Select each piece of the template, making sure the dotted lines are included.
- Right click your mouse and Select Group.
- Then select the template piece and click on Attach.
- Do this for each piece of the template.
Cutting your SVG Box Template
1. Click Make It
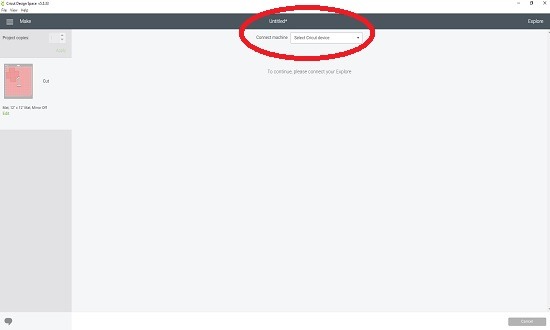
2. Click Continue
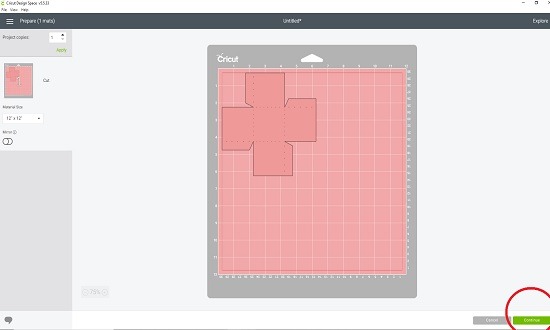
3. Select your Cricut Machine from the top of the screen.
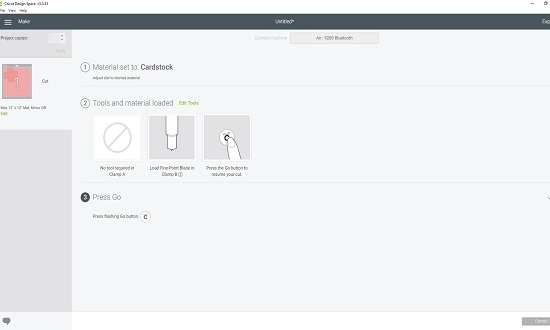
4. Follow the instructions on your computer.
- Set your material.
- Set your blade.
- Place your material on your mat, and insert the mat correctly in the Cricut machine.
- Press Go
5. Continue following the instructions on your computer until all template pieces are cut.
Finishing your 3D Box
- Remove the template from the cutting mat
- Follow the Assembly Instructions
- Have fun decorating!
Click here to be directed to a page with an older video.
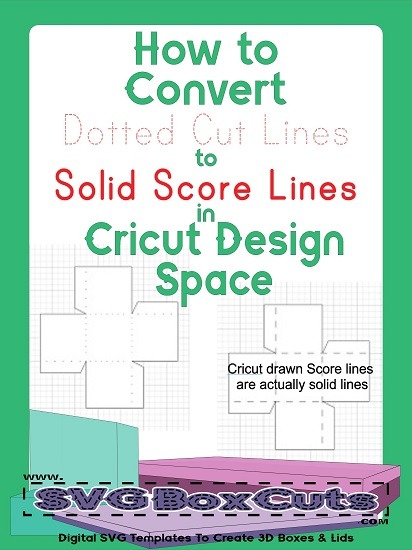
If you prefer to use solid score lines instead of dotted cut lines be sure to check out our post How to Convert Cut Lines to Score Lines in Cricut Design Space.