NEW PRODUCTS


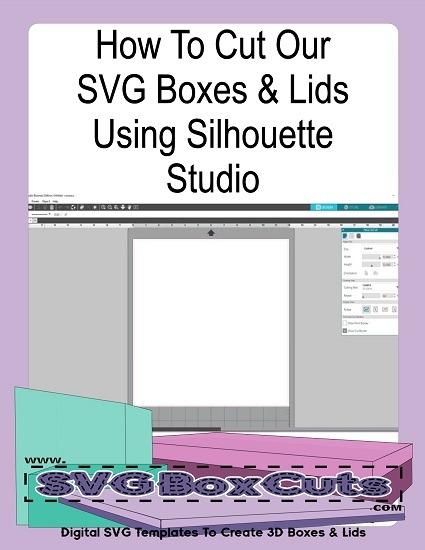
This is a tutorial showing you how to cut SVG boxes using Silhouette Studio Designer Editions or Business Edition.
If you have Silhouette Studio Basic Edition, please request your order to be converted to a Silhouette file free of charge.
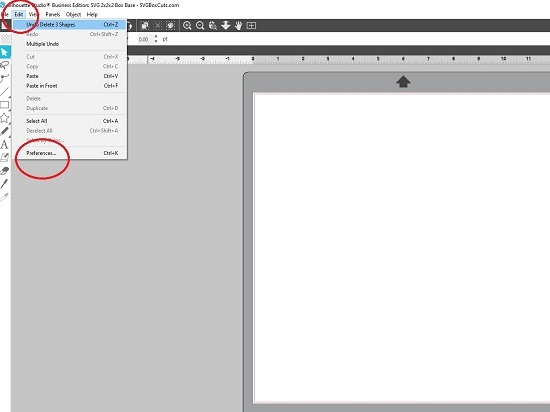
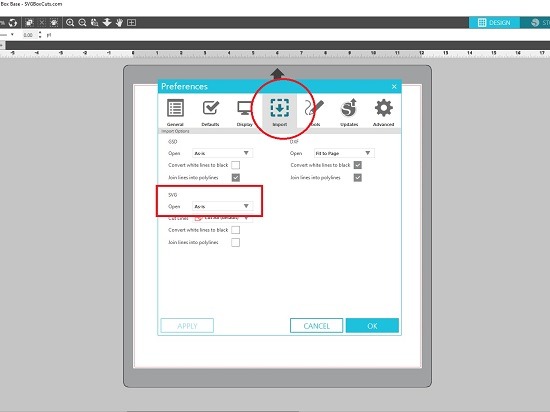
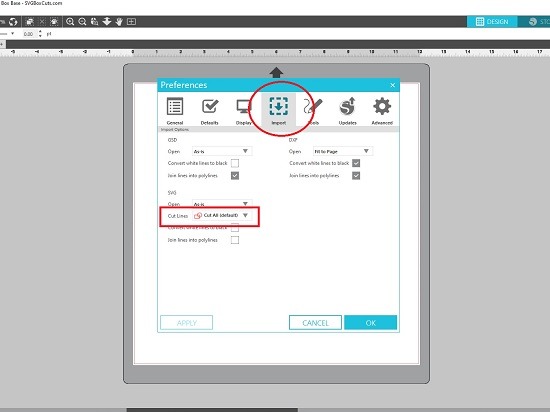
Before uploading a template please make sure Silhouette Studio is set to open SVG files “As-Is.”
- Select Edit from the top menu
- Select Preferences
- Select Import
- Go down to the SVG option
- Set the “Open” field to “As-Is”
- Click Apply and OK
Importing the SVG Box Template in Silhouette Studio
- Select the file menu
- Select Open
- Locate your SVG Box template. Click on it. Select Okay
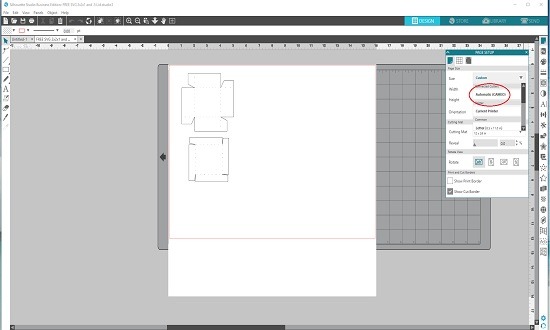
Preparing the SVG Template to Cut in Silhouette Studio
1. Once the template is uploaded I like to change the mat to fit my Silhouette Cameo.
In the Page Setup Menu, Use the drop down arrow and then Select Automatic Cameo.
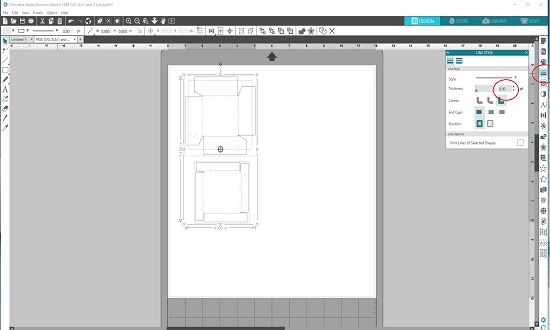
2. Change the line width to zero
Select the entire template.
Go to the Line panel.
Enter the value of 0 (zero) for the line thickness.
Press enter.
The newer version of Silhouette Studio now imports SVG files with a line width already set to zero.
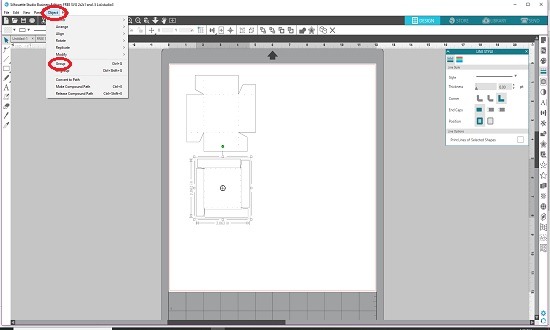
3. Group the dotted lines with the template. (Do this for each template piece if you have more than a one piece template.)
The newer version of Silhouette Studio now imports some templates with the line attached. This doe not happen on all templates, so it is a good idea to double check before moving the template. (Although, you can always select “undo” if you move it and it’s not attached.)
Select the template.
Right click your mouse and select Group.

OR After selecting the template. Click on the Object Panel and then select Group.
4. Change the SVG to “Cut” Lines.
Select the template.
Go to the Send Panel.
Select Cut.
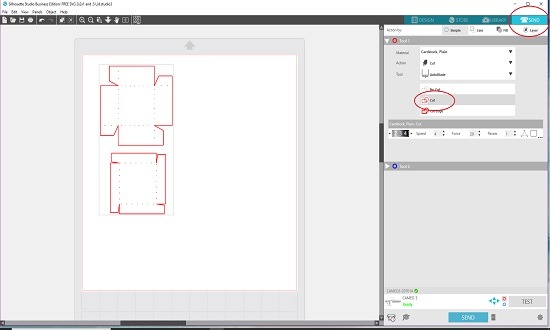
The newer versions have already set this as the default. However, you might need to reset it with certain updates.
- Select Edit from the top menu
- Select Preferences
- Select Import
- Go down to the SVG option
- Set the “Cut Lines” field to “Cut All”
- Click Apply and OK
Cutting your SVG Box Template
- Place your desired material on your mat
- Insert correctly in the Silhouette machine
- Go to the Send Panel
- Click Send at the bottom of the screen
Finishing your 3D Box
- Remove the template from the cutting mat
- Follow the SVG Box or Lid Assembly Instructions
- Have fun decorating!
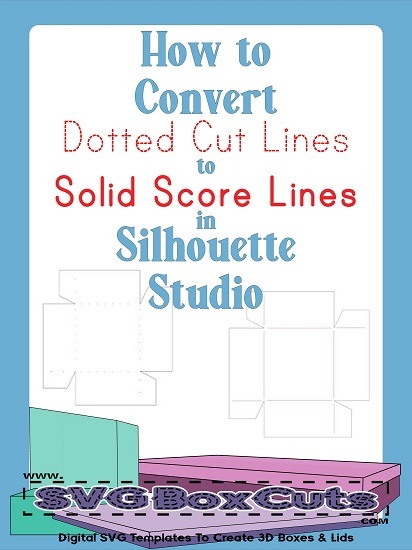
See How to Convert Dotted Cut Lines to Solid Score Lines in Silhouette Studio if you would prefer a solid line for scoring.