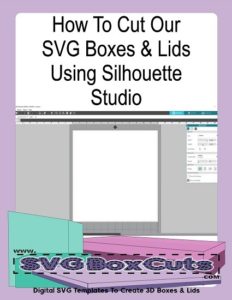
NEW PRODUCTS


This tutorial will explain how to convert cut lines to score lines in Silhouette Studio.
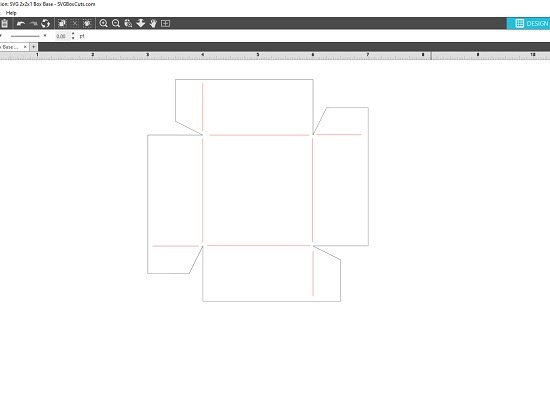
Our SVG box templates come with dotted cut lines as a guide to show you where to fold the sides and tabs to create a 3D box. It is not necessary to alter or replace these lines.
Currently Silhouette does not have a scoring tool. This post is only for people who prefer a solid “score” line instead of a dotted cut line. Silhouette recommend setting the blade depth to “1.” Please see the bottom of the post for a comparison of blade depth at “0” and “1.”
Convert Dotted Cut Lines to Solid Score Lines in Silhouette Studio
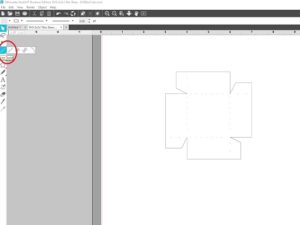
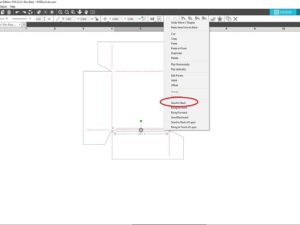
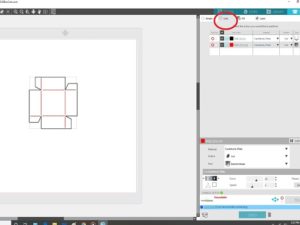
1. Ungroup the Dotted Cut Lines From the Outside Lines:
Silhouette Design Space will sometimes import the SVG template with the dotted lines attached and sometimes they are separate. For this tutorial, you need them ungrouped.
- Select the template
- Right click your mouse
- Select “Ungroup”
2. Draw a Solid Line OVER the Dotted Lines
- Select the line tool
- Draw a straight line and place it on top of the dotted line. Holding down the shift key while drawing the line will give a a straight line.
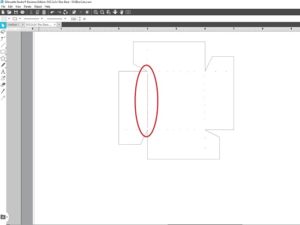
- Do this for all lines
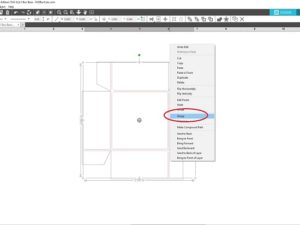
3. Delete the Dotted Cut Lines
- Select one solid line
- Right click your mouse
- Select “Send to Back”
- Then click the same line and now the dotted lines should be selected because they are on top.
- Right click your mouse
- Select Delete. If all dotted lines were grouped together it will delete all of them. If not, you will need to repeat this process for the other solid lines.
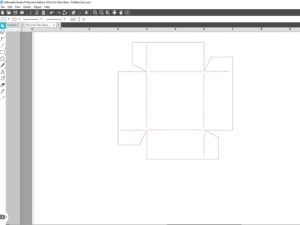
4. Group the Solid Lines Together
- Select the solid red lines only
- Right click your mouse
- Select group
5. Two Options for Cutting the SVG Box Template with Score Lines in Silhouette Studio
Option 1 – Cut by Making Two Separate Passes
- Load your mat and cut only the inside lines.
- Set the outside line setting to “No Cut” and the inside lines to “Cut.”
- Make sure to change the blade setting to “0” or “1.” (Keep reading to see the difference.)
- Send to your Silhouette.

- Do NOT remove your mat.
- Change the inside lines to “No Cut” and the outside lines to “Cut.”
- Make sure your material is selected and you change your blade setting.
- Send to your Silhouette again.
- When complete you may remove the mat.
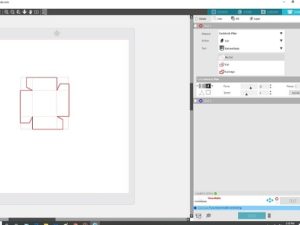
Option 2 – Cut Using the Line Color
- Select Line from the Send Panel
- If you have a Silhouette with two blade holders you can insert two different blades.
- Set the outside lines to cut as normal for your material.
- Set the inside lines to cut with a blade depth of “0” or “1.” (I like to use the ratchet blade for this option.)
- Send to your Silhouette and you can remove your mat when cutting is complete.
Silhouette Blade Depth Difference
Silhouette recommends using a blade depth of “1” if you set the “Cut” setting to “Score.” This is your preference for the type of material you are using. The picture below shows a blade depth of “0” in red and “1” in blue. (This was on the cardboard backing from a paper pad.)

Hope this was helpful!
If you have any further questions please feel free to send an email to support@svgboxcuts.com or use our Contact Form.
For more information using our SVG box templates with Silhouette please see How to Cut SVG Boxes Using Silhouette Studio.