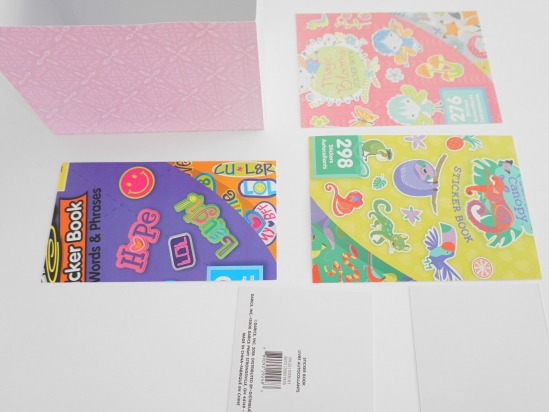
NEW PRODUCTS


This page will demonstrate how to resize support panels to give extra support for larger SVG boxes. It will show two examples to try to help clarify where to make the adjustments..
Support panels are a nice option for boxes that will be used more frequently or hold heavier items. Extra support is also a great idea for scrapbook paper or thinner cardstock.
Resize SVG Support Panels for Square SVG Box
- Download the FREE SVG Support Panel to use on the bottom inside of the box.
- You can also choose to use the drawing tool in your cutting program to draw a square instead of downloading the above panel.
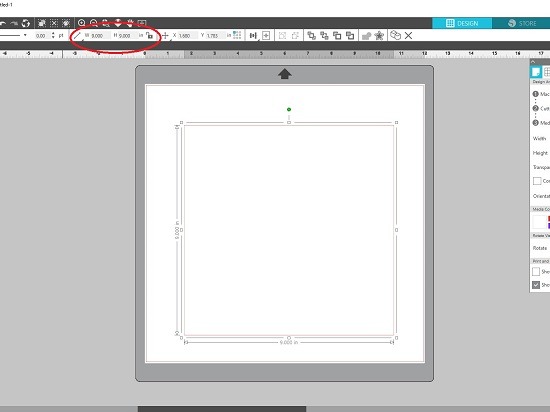
- Size a square the dimensions of your box base.
In this example I am using a 9x9x4 box. So the base is 9×9.
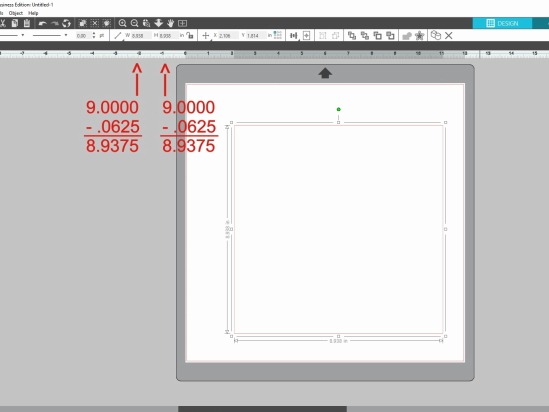
- Deduct 1/16 of an inch from your dimensions.
**This is a general guide. If you have thick chipboard you might need to increase the deduction to 1/8 inch, or if you are using thinner cardstock you might only want to deduct 1/32 of an inch.
- Download the FREE SVG Decorative Panels to use on the inside sides of the box.
- You can also choose to use the drawing tool in your cutting program to draw a square or rectangle instead of downloading the above panels.
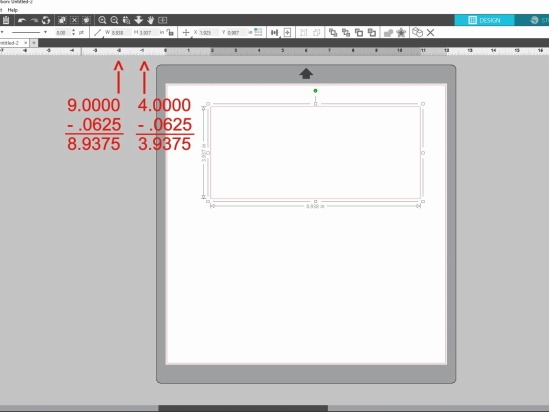
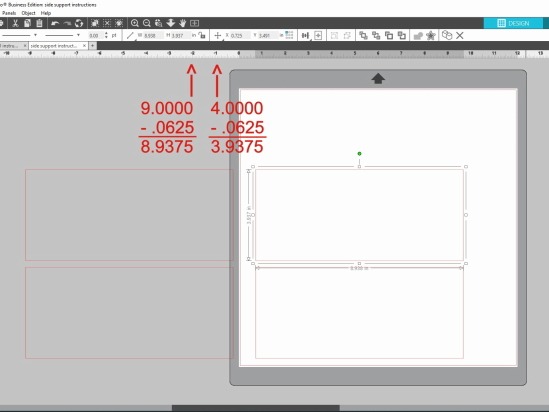
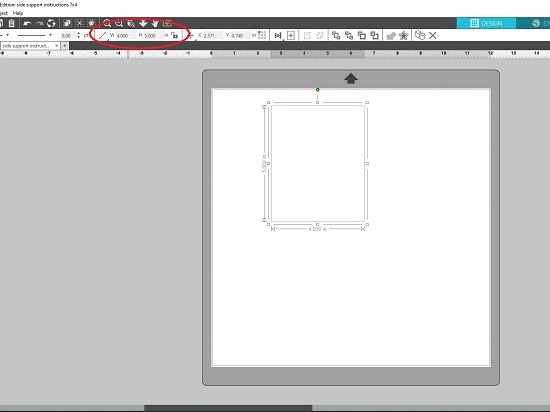
- Size one of the panels the dimension of your box side.
For example: A 9x9x4 box has a side of 9×4
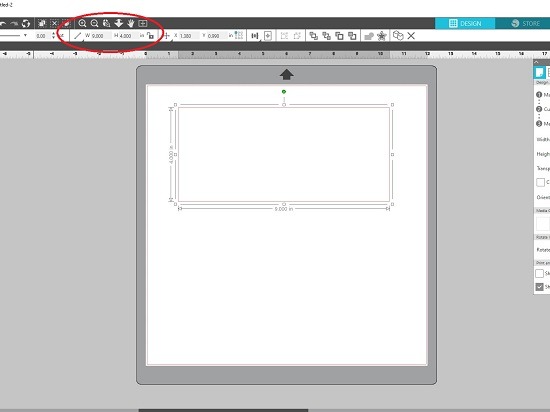
- Deduct 1/16 of an inch from your dimensions. (Remember this is a general deduction.)
- Because this is a square, all 4 side panels will be the same. You can alter each side template or copy and paste the original until you have 4 panels.
How to Insert Support Panels
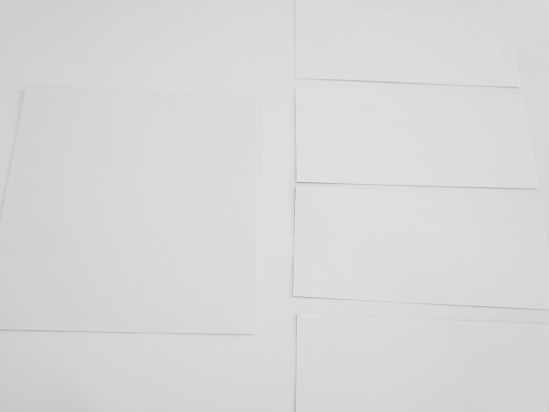
- Cut all of your SVG support panels.
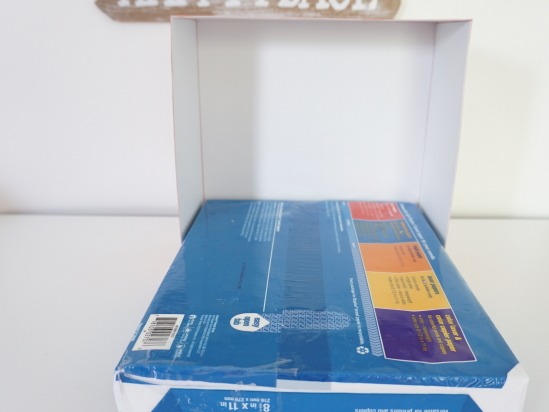
- *Optional: Use scrap cardboard if your cardstock is dark enough to cover the images. This is a great way to save money and upcycle cardboard. (See Rectangle Box example below.)
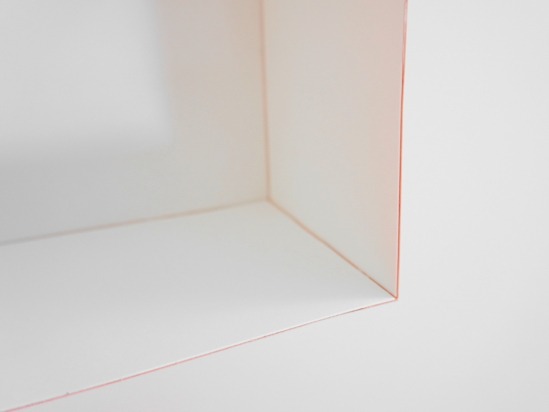
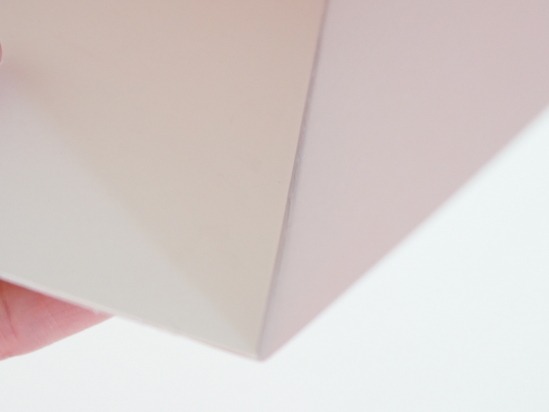
- Adhere the bottom panel in the center of the box bottom. (Remember there is a slight deduction, so you will have a very small gap.
- Insert side supports in the center of the sides.
- If using thicker cardboard, place the side supports at one corner. This will leave a gap for the other side support to be able to fit in like a puzzle piece.
*Optional: If you adhere the supports with glue you might want to place a weight on the paper until it dries. This will help prevent warping from the wet glue.
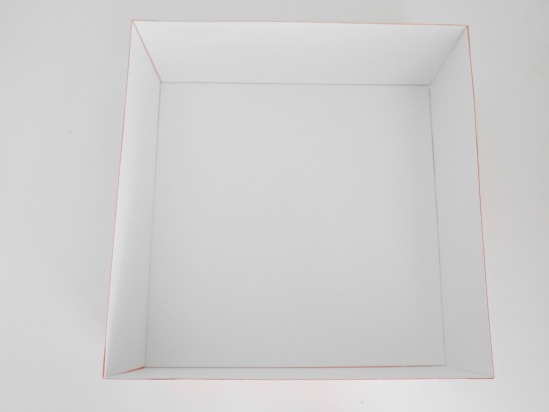
- Insert the remaining side supports in the center of the sides or along the edges.
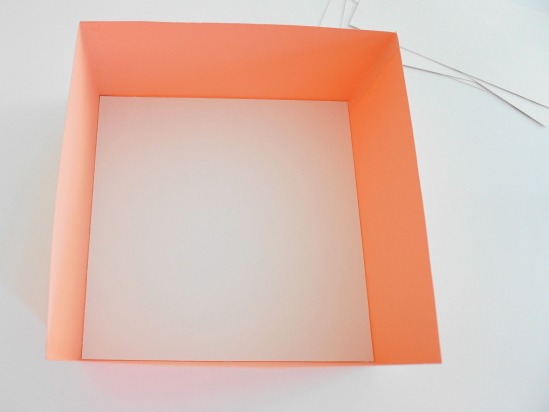
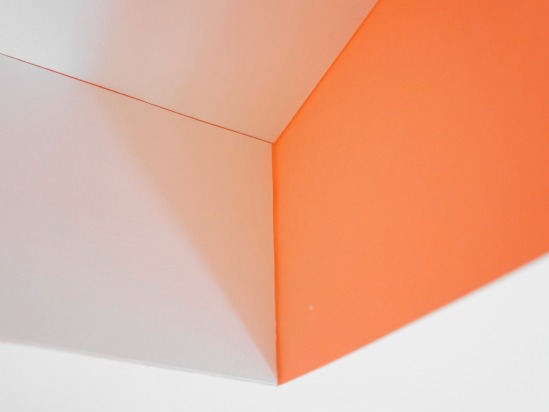
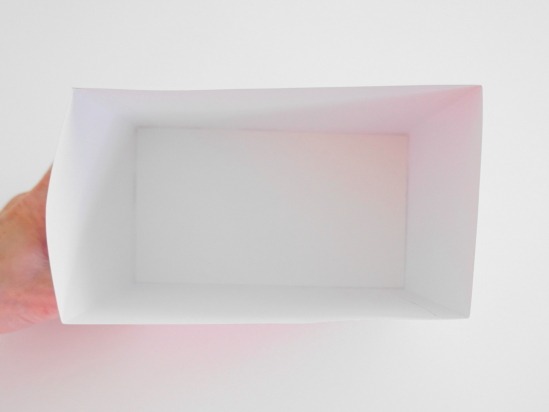
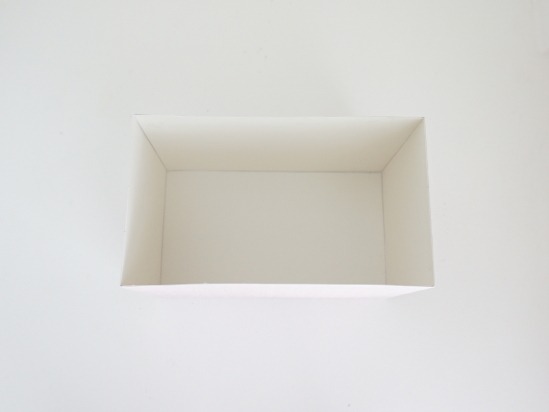
The completed SVG Box with SVG Support Panels.
Resize Support Panels for a Rectangle SVG Box
This will be mostly a repeat to the above example with the exception of 2 different size side panels.
- Download the FREE SVG Support Panel to use on the bottom inside of the box.
- You can also choose to use the drawing tool in your cutting program to draw a square instead of downloading the above panel.
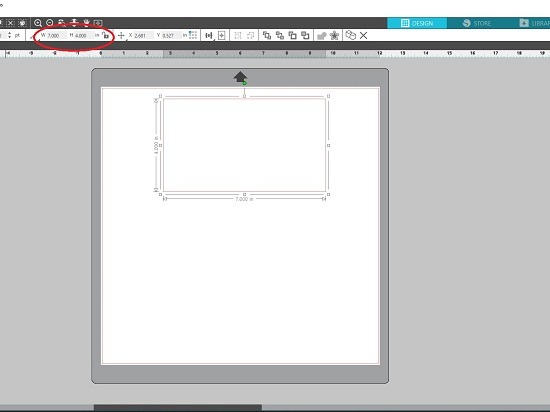
- Size the template the dimensions of your box base.
- In this example I am using a 7x4x5 box. So the base is 7×4.
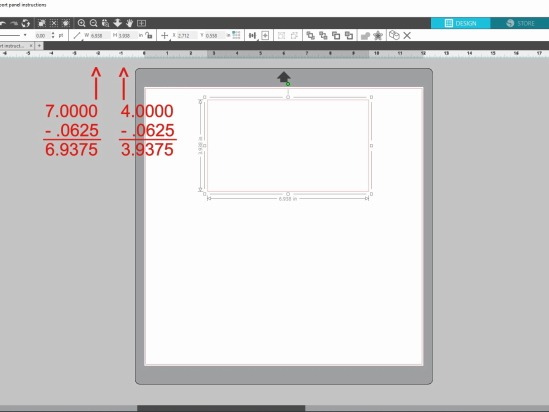
- Deduct 1/16 of an inch from your dimensions.
**This is a general guide. If you have thick chipboard you might need to increase the deduction to 1/8 inch, or if you are using thinner cardstock you might only want to deduct 1/32 of an inch.
- Download the FREE SVG Decorative Panels to use on the inside sides of the box.
- You can also choose to use the drawing tool in your cutting program to draw a square or rectangle instead of downloading the above panels.
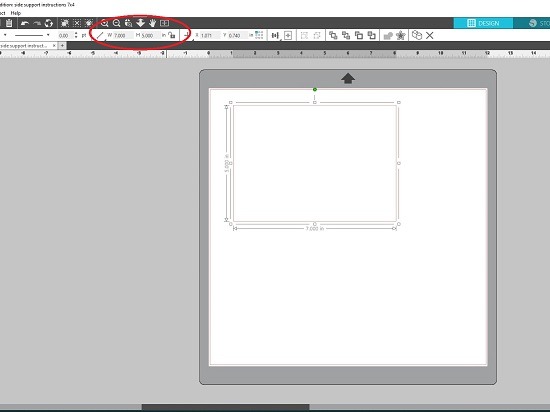
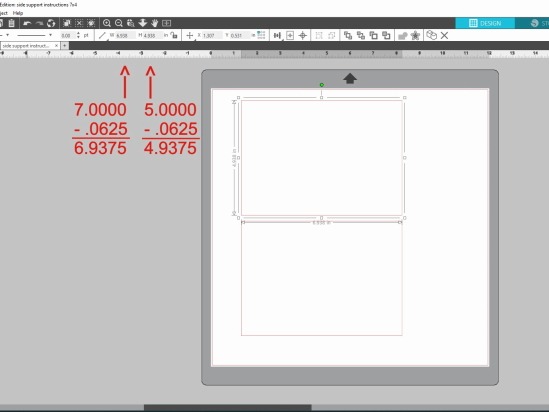
- Size one of the panels the dimension of one of your box sides.
- For example: A 7x4x5 (7 inches wide x 4 inches wide x 5 inches high) box has a side of 7×5 (7 inches wide x 5 inches high.)
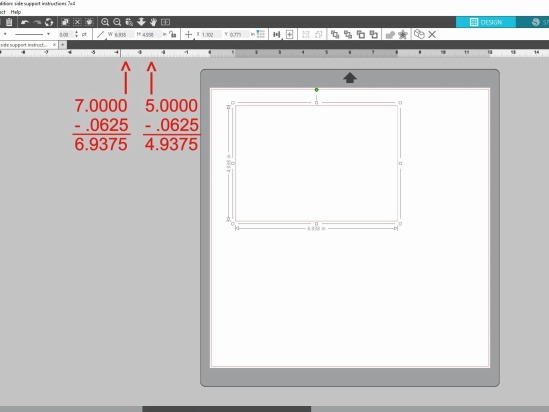
- Deduct 1/16 of an inch from your dimensions. (Remember this is a general deduction.)
- Duplicate the template, so you have two panels.
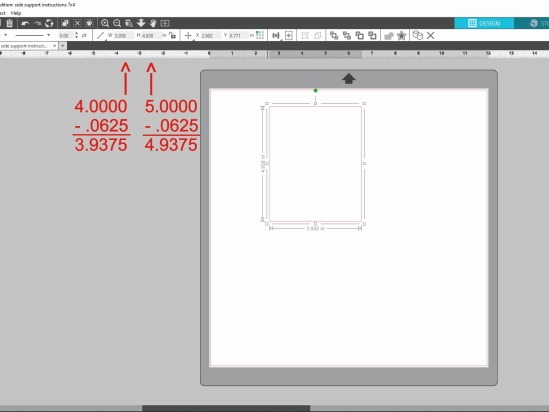
- Size another template piece the dimension of your other box side.
- For example: A 7x4x5 (7 inches wide x 4 inches wide x 5 inches high) box has a different side of 4×5 (4 inches wide x 5 inches high.)
- Deduct 1/16 of an inch from your dimensions. (Remember this is a general deduction.)
- Duplicate the template, so you have two panels.

Insert Panels
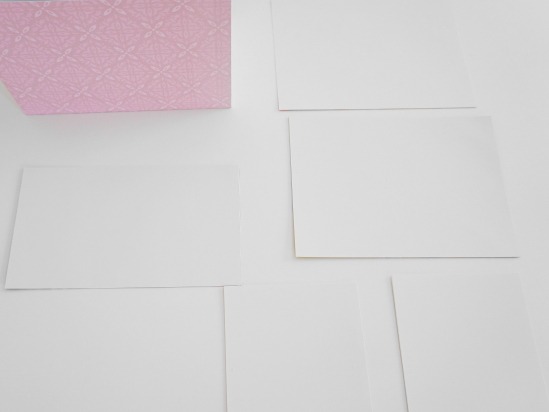
- Cut your SVG support panels.
- *Optional: Use scrap cardboard if your cardstock is dark enough to cover the images. This is a great way to save money and upcycle cardboard.
- Adhere the bottom panel in the center of the box bottom. (Remember there is a slight deduction, so you will have a very small gap.
- Insert side supports in the center of the sides.
- If using thicker cardboard, place the side supports at one corner. This will leave a gap for the other side support to be able to fit in like a puzzle piece.
- *Optional: If you adhere the supports with glue you might want to place a weight on the paper until it dries. This will help prevent warping from the wet glue.
- Insert the remaining side supports in the center of the sides or along the edges.
That’s it! Hope you get lots of use out of your completed boxes!