NEW PRODUCTS


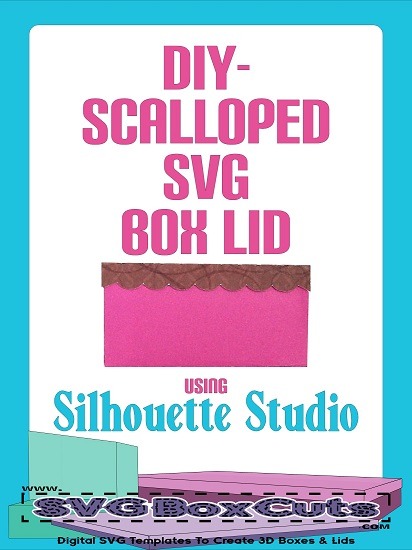
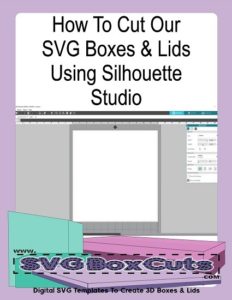
This tutorial will explain how to convert one of our straight edge SVG box lids into a scalloped SVG lid using Silhouette Studio. (We will gladly convert our SVG boxes and lids in your order to a Studio file free of charge if you are using Silhouette basic edition.)
This post will show two variations for creating a scalloped lid. It is important to remember that both options will alter the size of the height of the lid. (The amount the lid overlaps on the box.)
SVG templates from our site may not be altered and then sold or distributed. These are for personal use or the finished 3D product may be used for selling commercial goods.

If you need help with using our box templates in Silhouette Studio please read How to Cut Our SVG Boxes and Lids Using Silhouette Studio.
Option 1 : Creating a Scalloped SVG Box Lid Using Silhouette Studio
(Option one will make the side height of the lid slightly shorter depending on where you place your final cut lines.)
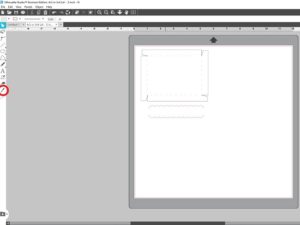
- Draw a circle / oval using one of the shape tools.
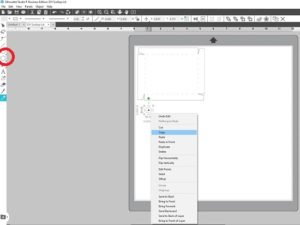
- Copy the circle by right clicking your mouse and selecting Copy.
- Paste the circle as many times as you would like scallop edges. (Right clicking your mouse and select paste. Repeat the number of times.)
- Slightly overlap the circles.
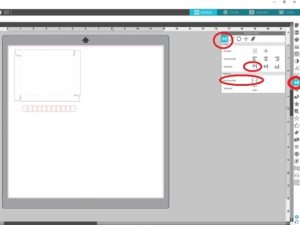
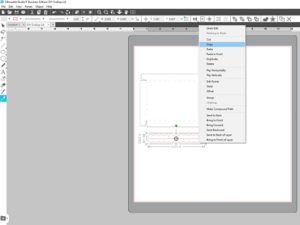
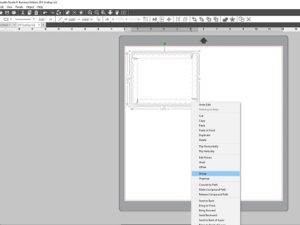
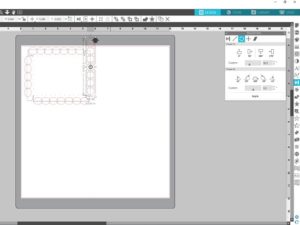
- Select all the circles then Align them using the Transform Menu.
- With all the circles still selected Evenly Space the circles while still in the Transform Menu.
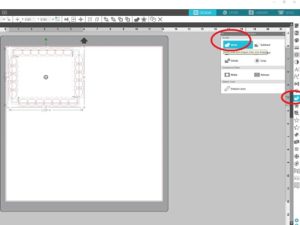
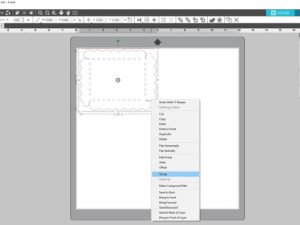
- Select all the circles and Weld using the Modify menu.
- Using the Knife Tool cut through the center of the welded circles. (Holding the shift key while drawing the line will give you a straight line.)
- Select both halves.
- Right click your mouse and select Copy.
- Right click your mouse again and select Paste.
- Rotate the copied set of scalloped lines so they are vertical.
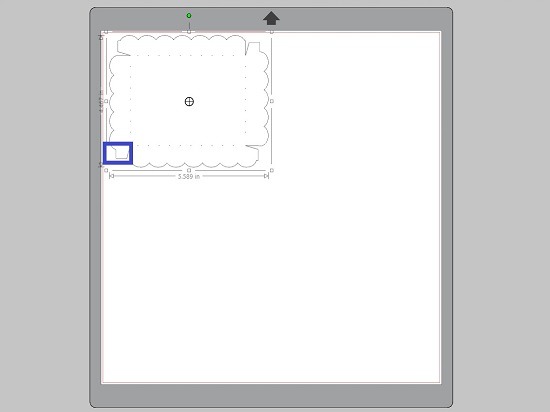
- Using the Knife Tool, cut off the top of the lines that extend past the shorter side.
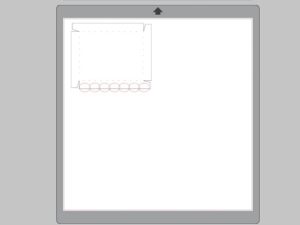
- Place the scallop lines on each side between the dotted lines and the outer edge.
- Try to make the lines extend from one corner to the opposite corner.
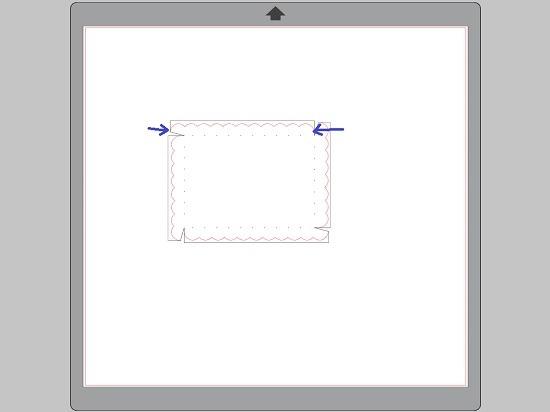
*Make sure the scallop lines do not cut off the tab needed to glue the box lid together.

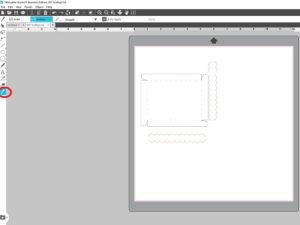
- Select everything.
- Right click your mouse and Group everything back together.
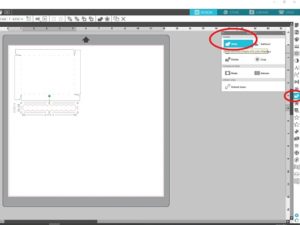
- Click Send.
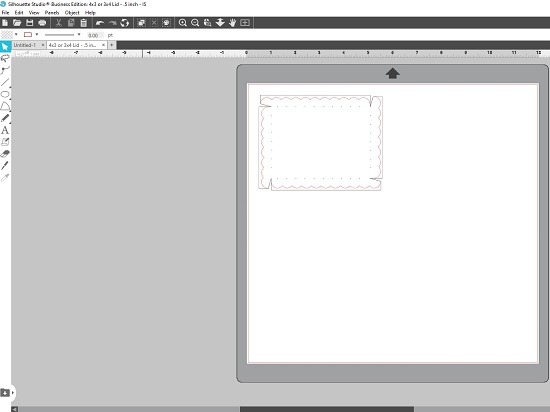
Notice how the scalloped edges are inside the original lines. Depending on where you place your new lines will depend on how much shorter the sides of the lid hang down over the box.

As long as your scalloped lines do not extend over the original template lines your scallops will maintain their shape, and you can just discard the scraps.
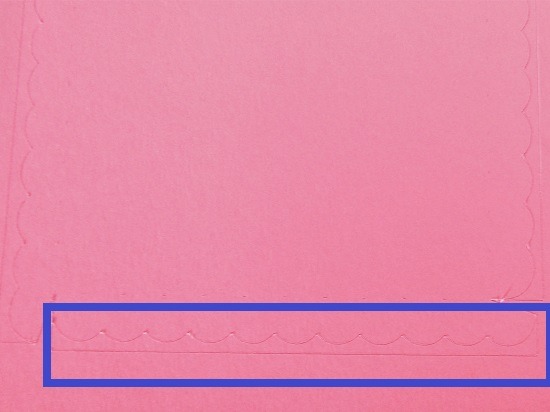
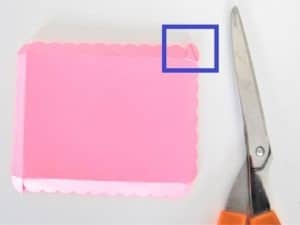
If any of the template will stick out on the completed box lid, just snip it off. (Please make sure you keep enough of the tabs to glue the sides together.)
Option 2 : Creating a Scalloped SVG Box Lid
(Option two will make the side height of the lid slightly taller depending on the size of your scallops.)
- Draw circles or ovals using one of the Shape Tools.
- Right Click your mouse and select Copy.
- Right click your mouse again and select Paste.
- Paste the number of ovals you would like for scallops.
- Slightly overlap the ovals.
- Select all the ovals then Align them using the Transform Menu.
- With all the ovals still selected Evenly Space the circles while still in the Transform Menu. (See second picture in Option 1 if you need help locating these options in the Transform Menu.)
- Select all the ovals.
- Right click your mouse and select Copy.
- Right click your mouse and select Paste. (Repeat 3 times.)
- Rotate two of the copies so they are vertical. If you have trouble doing this by hand us the 90 degree option in the Transform Menu.
- Delete any ovals that extend past the height of the shorter sides.
- Select everything.
- Select Weld in the Modify Menu.
- With the template still selected, right click your mouse.
- Select Group.
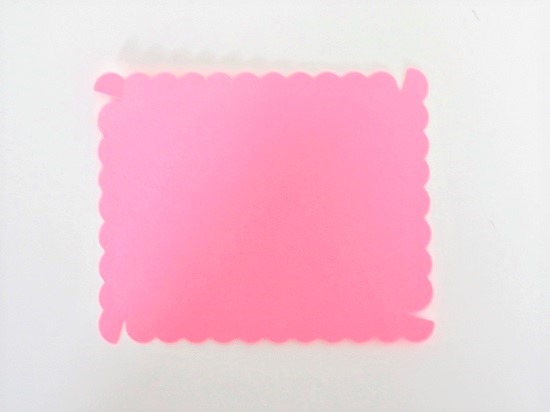
It’s okay if the scallops do not extend all the way to the end, as long as they extend into the tab zone. That area will be overlapped when the box lid is glued together. Anything that hangs down below the other side can be snipped off to make an even alignment.
That’s it!
You can now send your SVG scalloped box lid template to your Silhouette machine.
Hope this was helpful!
More basic tutorials for Silhouette Studio: