NEW PRODUCTS


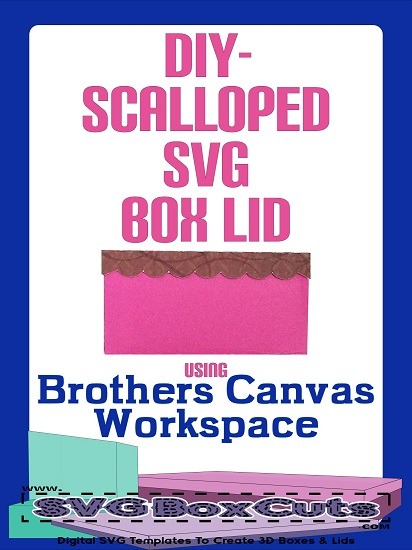
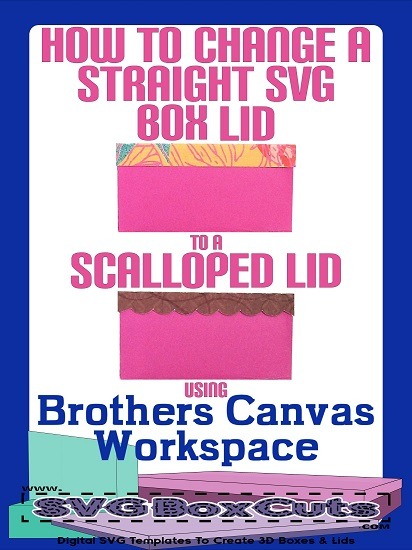
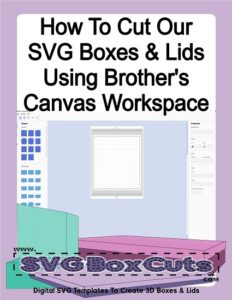
This tutorial will explain how to convert one of our straight edge SVG box lids into a scalloped SVG lid using Brothers Canvas Workspace. (We will gladly convert our SVG boxes and lids in your order to a FCM file free of charge for your convenience.)
It is important to remember adding scallops to your lid will alter the size of the height of the lid. (The amount the lid overlaps on the box.)
SVG / FCM templates from our site may not be altered and then sold or distributed. These are for personal use or the finished 3D product may be used for selling commercial goods.
Getting Started with the SVG Box Lid Template
- Import the SVG template, change the line color and resize. For more information on how to do that please read How to Cut Our SVG Boxes and Lids Using Brothers Canvas Workspace.
- or Import FCM template
- Click on the template.
- Right click your mouse.
- Select Ungroup to separate the dotted lines from the solid lines. (This is important for later.)
Drawing the Scallops for the Scalloped Box Lid
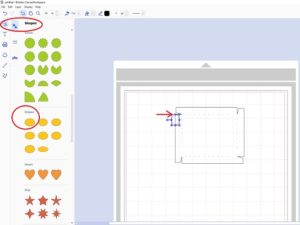
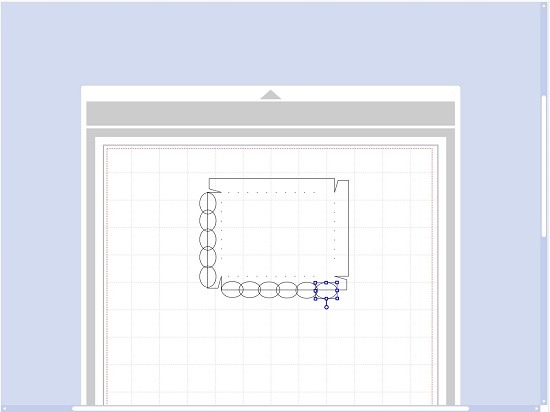
- Use the Shapes Menu and select a circle or ellipse.
- Resize the oval to your preference.
- Easiest way to align it on the template is to line up the center square around the oval with the line on the template.
- Right click your mouse.
- Select Copy.
- Right click your mouse again.
- Select Paste. Repeat until you have the number of scallops you would like for your lid plus one extra.
- Slightly overlap each oval.
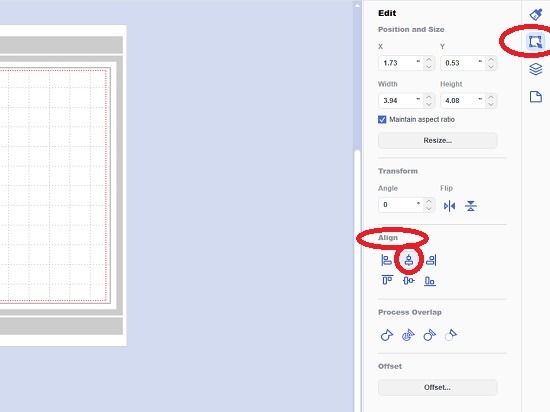
- Select all ovals.
- Align the ovals by using the Edit Menu and selecting Center
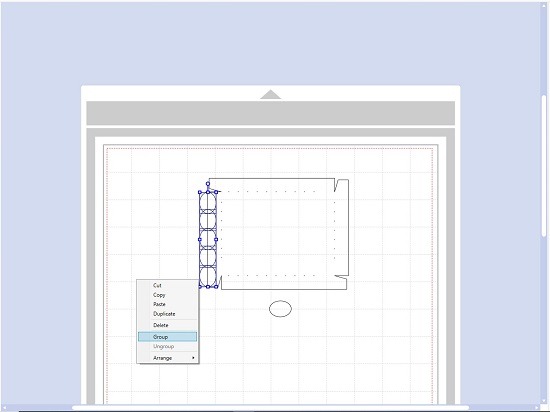
- Select all the ovals.
- Right click your mouse.
- Select Group.
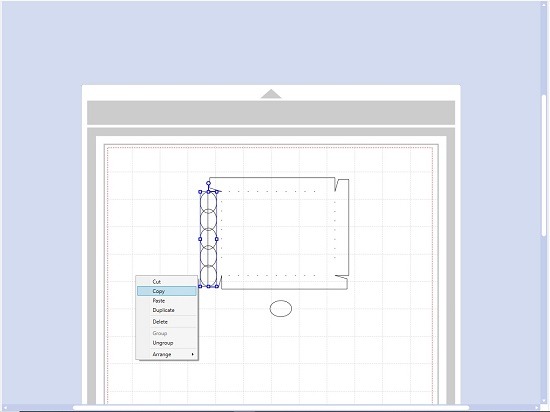
- Select all the set.
- Right click your mouse.
- Copy
- Right click again.
- Paste.
- Rotate the set.
- Add any extra ovals needed to fill in the gap.
- Align using the Edit Menu.
- Right click your mouse.
- Group the second set of ovals.
- Copy and paste each side to fill in the opposite sides.
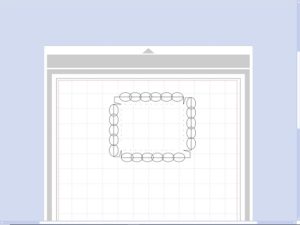
- Make sure the ovals extend to the tabs, but you do not have to extend to the end of the template. These are the tabs that will be used to glue the sides together.

Finalizing the SVG / FCM Scalloped Lid using Brothers Canvas Workspace
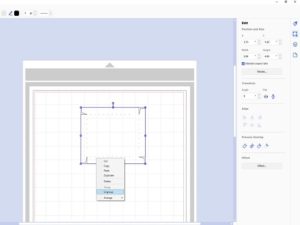
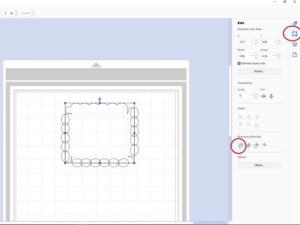
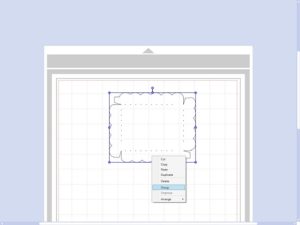
- Select ONE side and the main template, without the dotted lines, by touching just those areas.
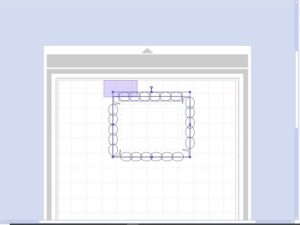
- Select Weld from the Edit Menu
*If you forgot to ungroup the dotted lines from the outside lines, you will see the error below. Just click the main template. Right click your mouse and select Ungroup.

- Continue to select one side and weld until you have completed all 4 sides.
- Then Select the entire template including the dotted lines.
- Right click your mouse.
- Select Group.
Hope this helped!
More basic tutorials for Brothers Canvas Workspace can be found on our Brothers Category Page: https://www.svgboxcuts.com/blog/category/how-to-for-brothers-canvas-workspace/