NEW PRODUCTS


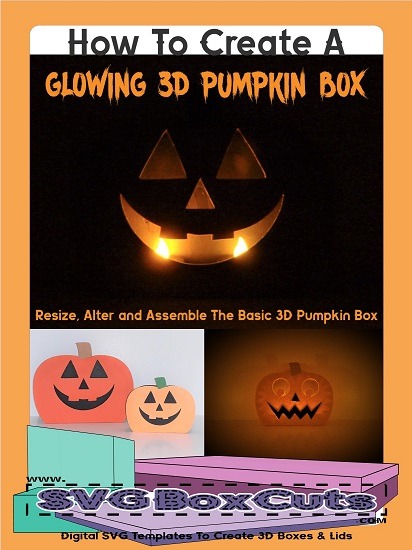
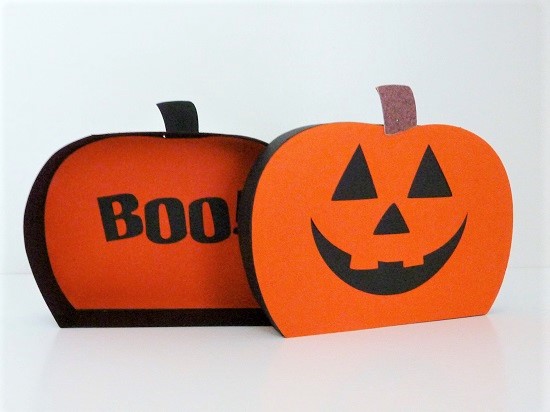
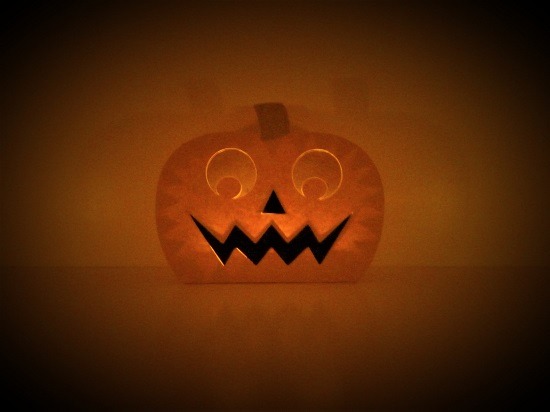
This tutorial will show you how to create a Glowing SVG 3D Pumpkin Box by giving you step by step instructions for resizing, assembling and altering our 3D Pumpkin Box, so you can create your own desired look.
How to Resize the SVG 3D Pumpkin Box
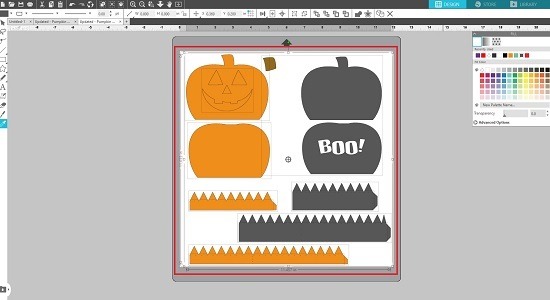
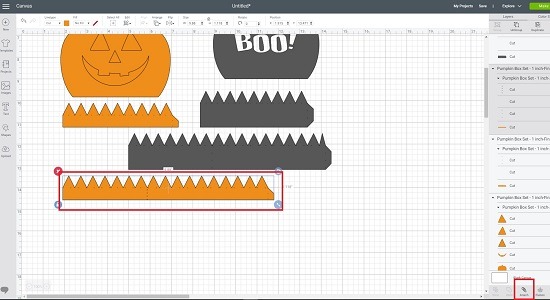
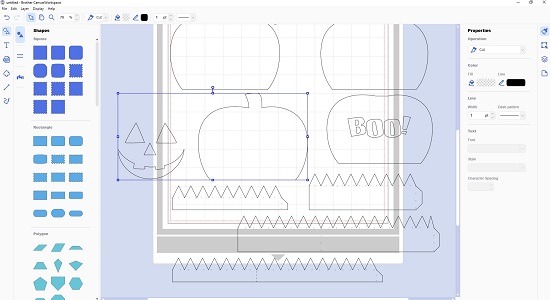
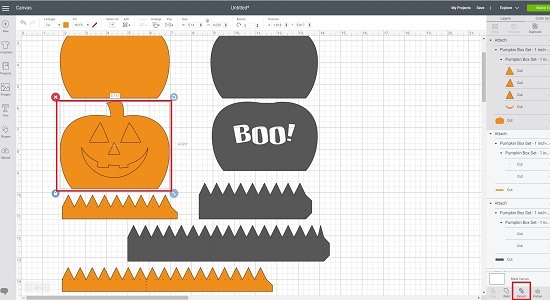
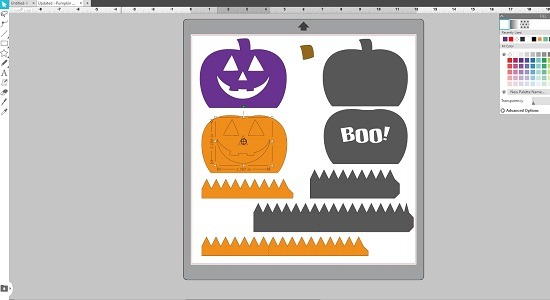
1. The templates will all open on one page.
2. Make sure all templates are selected before you resize.
Cricut will import all templates grouped together.
Silhouette and Brother’s users will have to select all the templates to group them.
3. Drag the corner of the box that is around all of the selected templates until you have reached your desired size.
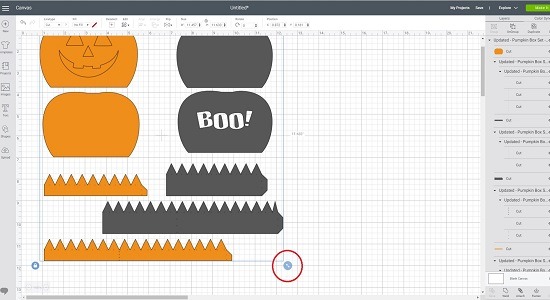
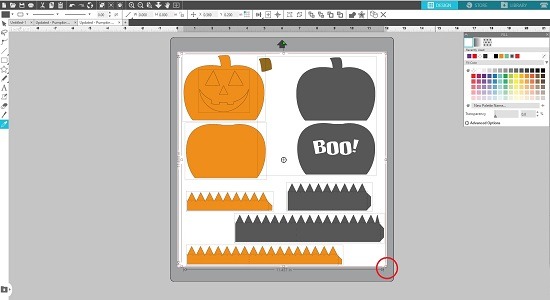
*Pay attention to the side strips so they do not extend the width of your mat

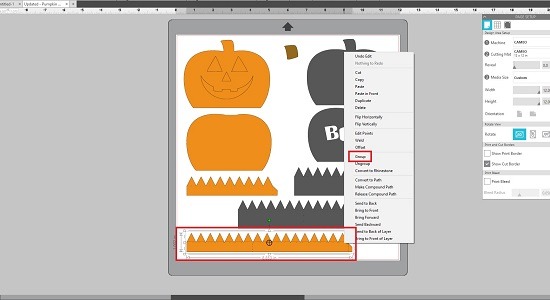
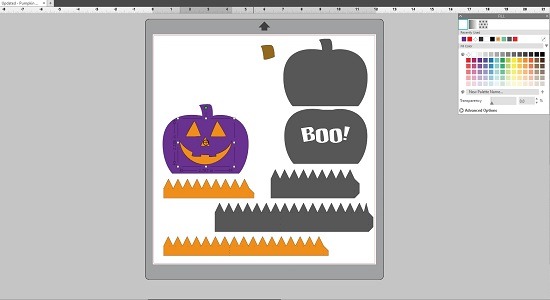
4. Cricut Users: Ungroup the templates. Then, select one section of the side strips with the dotted lines, and select “Attach”. This will keep the dotted lines on the strip while cutting. Repeat this for all pieces.
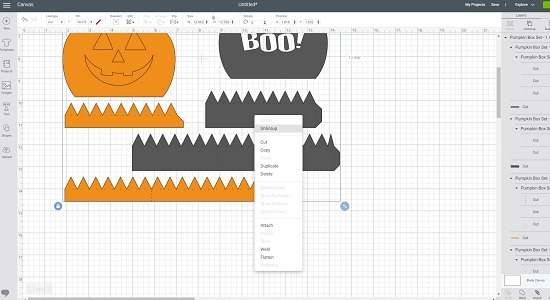
Silhouette or Brother’s Users: Select one of the side strips with the dotted lines and “Group” them together. Repeat this for each piece.
How to make a much larger box:
*You will need to overlap the side strips.*
1. Enlarge your templates to your desired Pumpkin size.
(Notice the strips will be cut off when cutting with your machine. Pay attention to the amount of tabs that will be cut off)
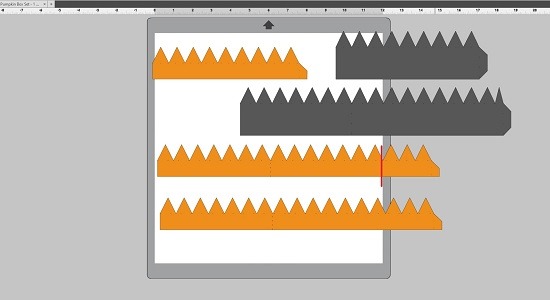
2. Copy the large orange side strip, and paste the second one below it. Repeat for the large black strip.
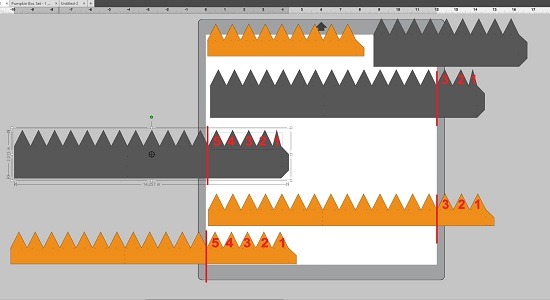
3. Move the second strip off the other side of the mat making sure to leave the number of tabs that will be cut off of the first strip AND add 2 or 3 more tabs. (You will glue the extra tabs over top of the first strip to extend the side. See Assembly below.)
How to Alter the SVG 3D Pumpkin Box
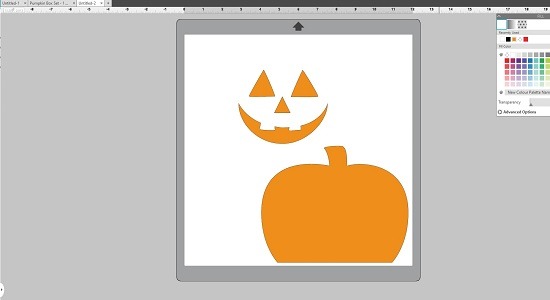
In this step you can replace the included face shape with any face shape you like. (For Personal Use. You may not sell this template set with a new face.)
If assembling the basic 3D Pumpkin box:
1. You can leave the face shape in the center of the pumpkin when it cuts, and the insert for the lid will become your background which will be the color of your eyes, nose, and mouth.
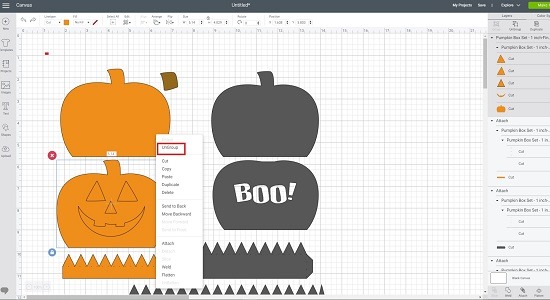
2. OR to glue the eyes, nose and mouth on the top of the lid; you will need to separate the face from the pumpkin shape.
Cricut Users: Ungroup the face shapes, and you may want to change their color if you want to cut them from different color paper than the pumpkin.
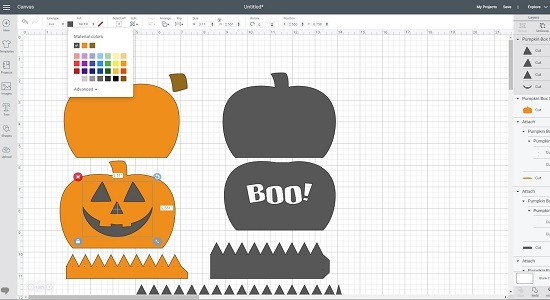
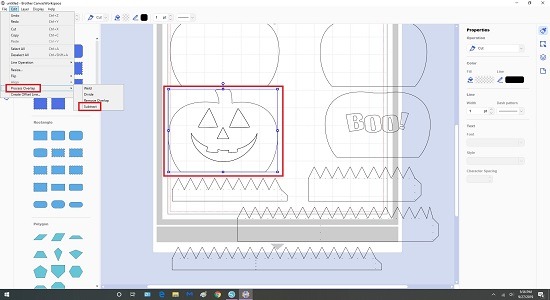
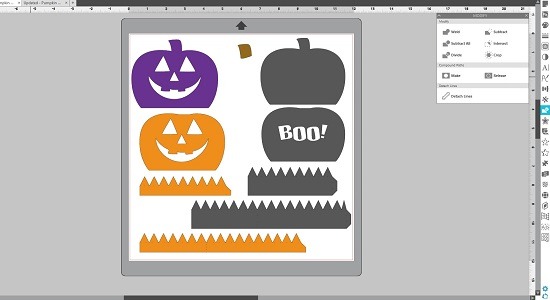
If assembling the Glowing 3D Pumpkin box:
You will want the face shapes to cut out of the pumpkin shape so the light can be seen through the face.**
1. Cricut Users: Select the face shapes and the pumpkin shape and then use “Attach.”
Silhouette Users: Select the face shapes and the pumpkin shape and then use “Subtract.”
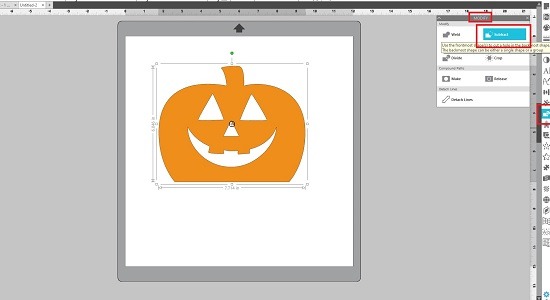
Brother’s Users: Select the face shapes and the pumpkin shape then use the “Subtract.”
2. ** If you are going to use the insert to cover the side tabs inside the 3D pumpkin box lid, you will need to cut the face shapes out of the insert piece also.
How to Cut The Face Shapes From the Insert:
1. Before you “Attach” or “Subtract” the face shapes from the first pumpkin shape, copy and paste another face set onto the insert pumpkin shape. (You might want to slightly increase the size of the face shapes for the insert to make it easier to line them up when assembling.)
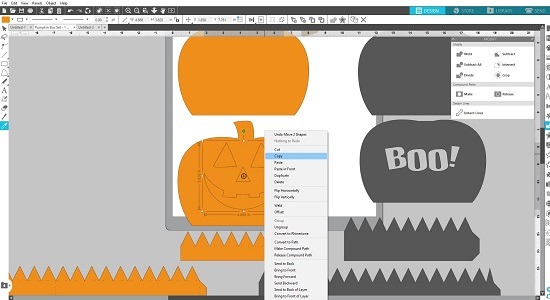
2. “Attach” or “Subtract” the face shapes to the first pumpkin shape, then change the color of that pumpkin. Now you can line up the two pumpkin faces to make sure they will line up when assembled. You can then move the top layer and “Attach” or “Subtract” the face shapes from the second pumpkin shape. (If you want everything centered you can just use your “center” function to align the face shapes in the center of each pumpkin shape.)
How to Assemble the SVG 3D Pumpkin Box
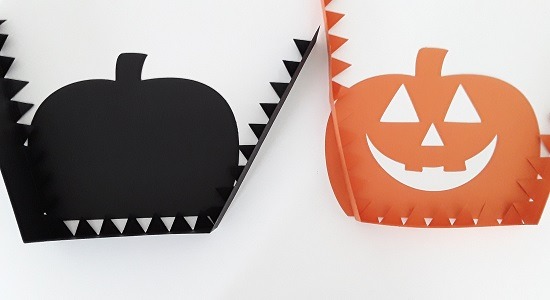
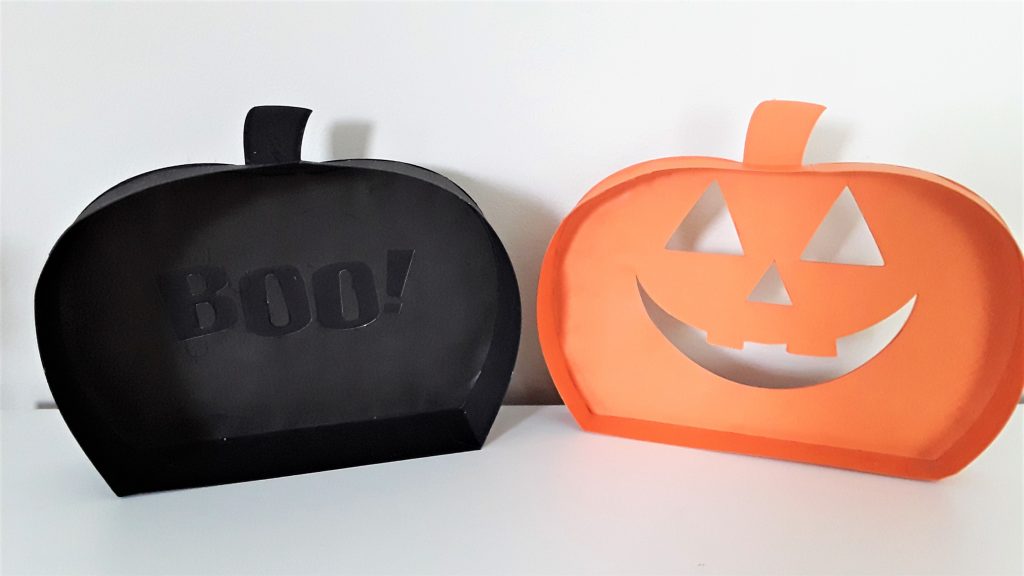
Orange pieces are for the 3D Pumpkin Box Lid.
Black pieces are for the 3D Pumpkin Box Base.
1. Attach the two orange strips together at one side. Repeat with black.
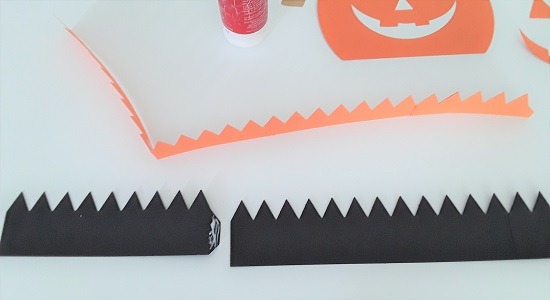
2. * If you needed to extend the strip, you will overlap 2 or three tabs and glue those pieces together, then glue the third strip to the side.
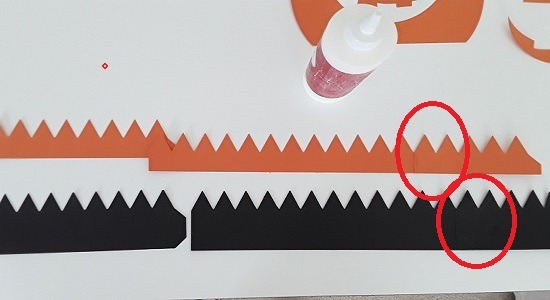
3. Fold down all of the triangle taps.
4. Place glue on the tabs and gradually put the tabs along the edge of the pumpkin. The sides have a perforation to show where to place the tabs along the bottom flat side first for easier assembly.
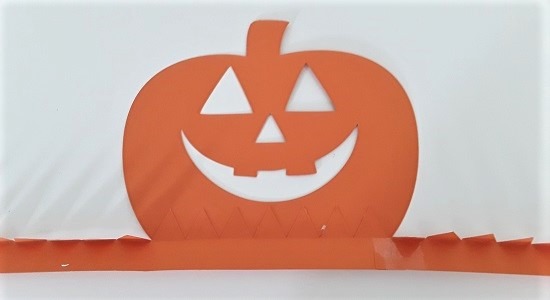
5. Once you have made it all the way around, join the final side tab to itself.
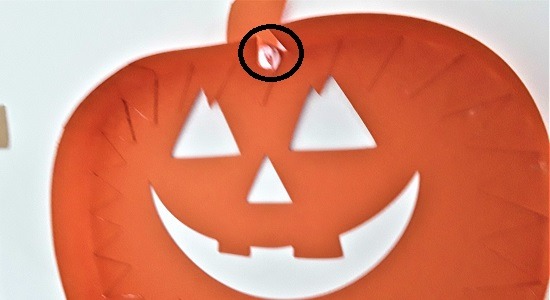
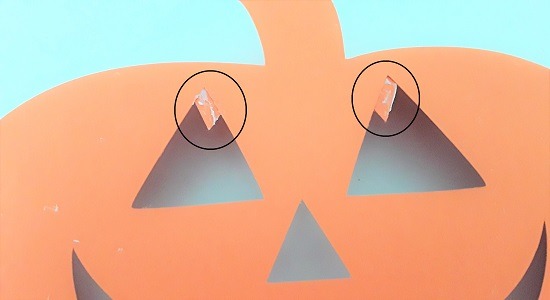
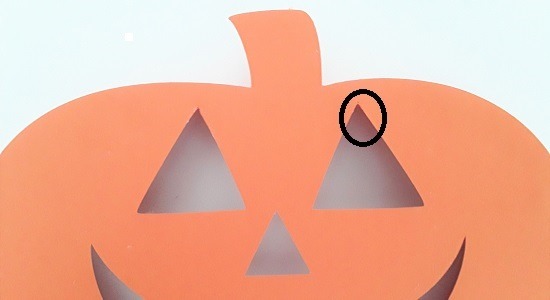
6. Depending on the placement of the eyes, the tabs may stick out in the opening. Just snip them off with a pair of scissors.
7. Glue a piece of paper behind the base insert if you would like to make the “Boo” stand out more.

8. Glue the smaller pumpkin shapes inside the top of the lid and the bottom of the base to cover the tabs.
** Make sure the face cut-outs line up if assembling for the Glowing 3D Pumpkin Box.
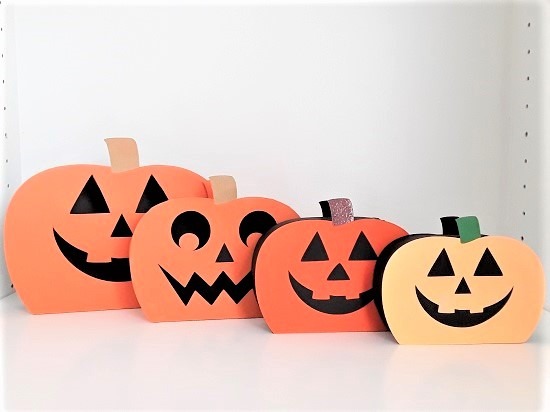
9. Glue the face pieces on the top of the lid if assembling the basic 3D Pumpkin Box.
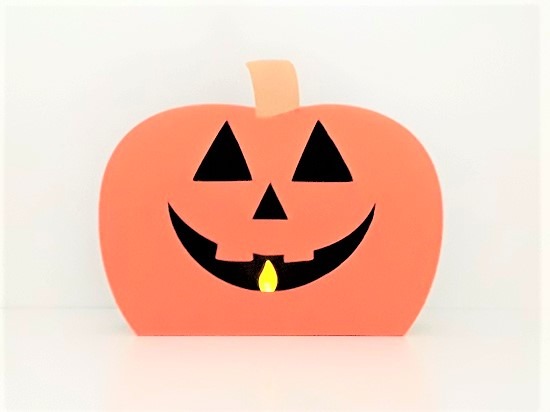
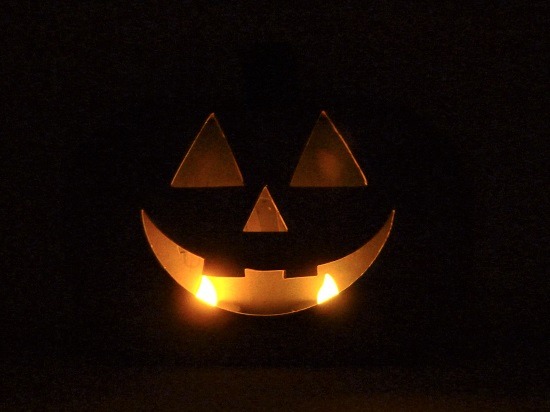
10. To finish the “Glowing” just place a BATTERY operated tealight candle inside the box, close the lid and stand it on the flat side.

Click here to purchase the SVG 3D Pumpkin Box Template Set.