NEW PRODUCTS


Two Piece SVG Box Template Assembly Instructions
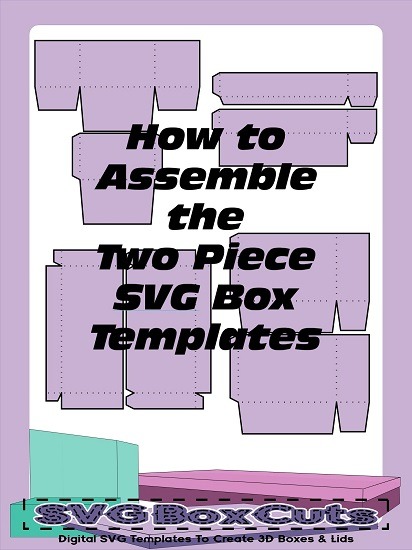
This page gives written and video instructions for assembling all of our “Two Piece” SVG box templates.
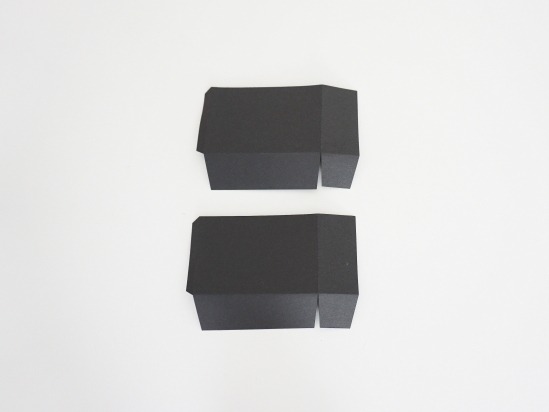
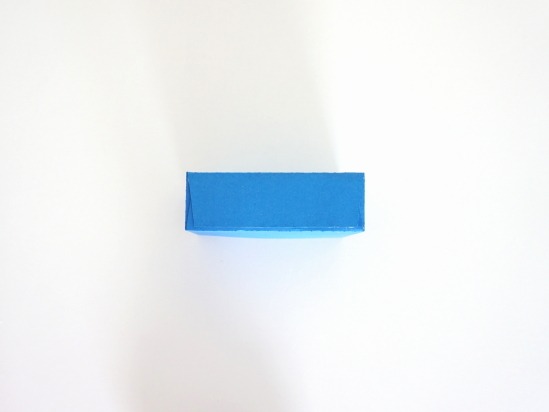
Two Piece SVG Box Template
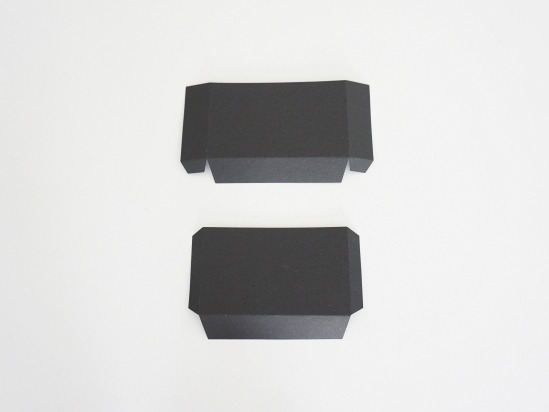
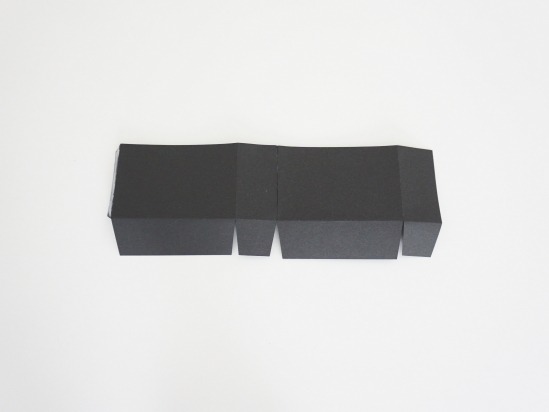
- Cut the templates using a cutting machine or scissors.
- Fold on all the dotted guide lines to create creases.
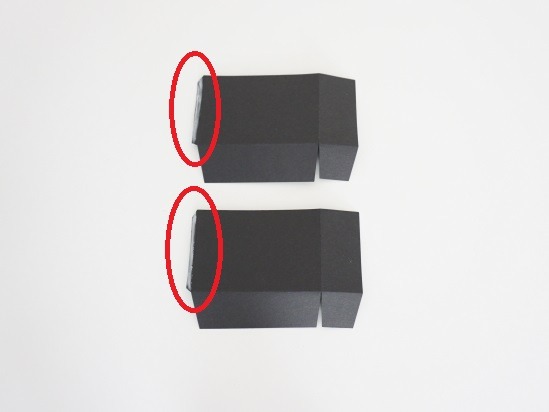
- Place glue and / or two sided tape on the outside of the small side tabs.
- Adhere one tab to the inside of the other panel.
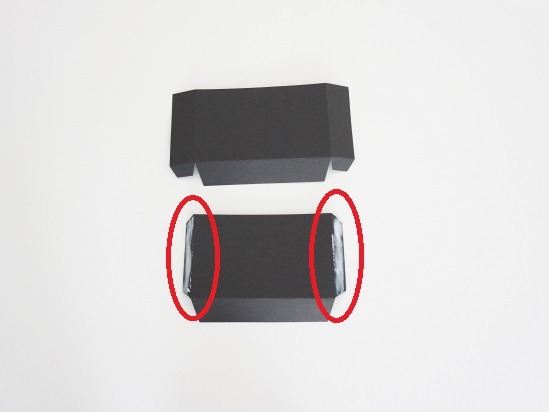
- Adhere the second side tab to the other side of the first panel.
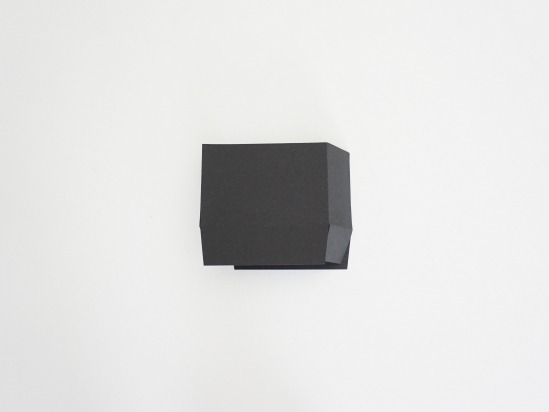
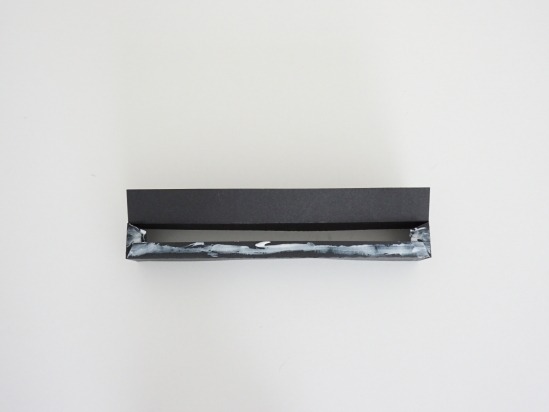
- Optional – Lie the template flat on its side and place a weight on the template until the sides are dry. This will help keep the sides from shifting while assembling the bottom.
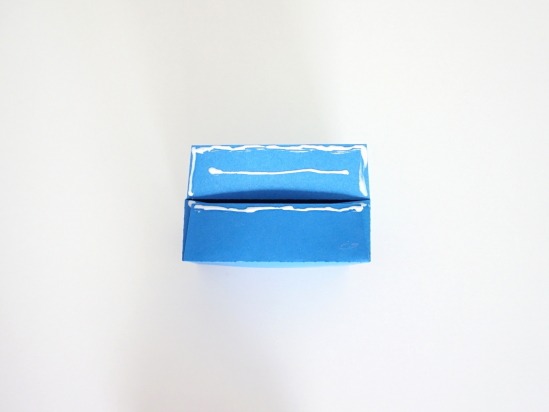
- Place adhesive on the two bottom small tabs and the corners of the bottom flap.
- Fold the bottom flap onto the small tabs.
- Place adhesive on the top of the first flap and the bottom and sides of the second flap.
- Fold the second flap onto the first.
- Optional – Place weight on the bottom of the box until it dries. This will help the bottom to dry flat.
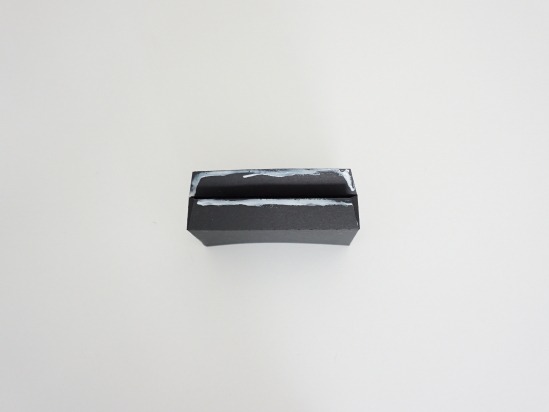
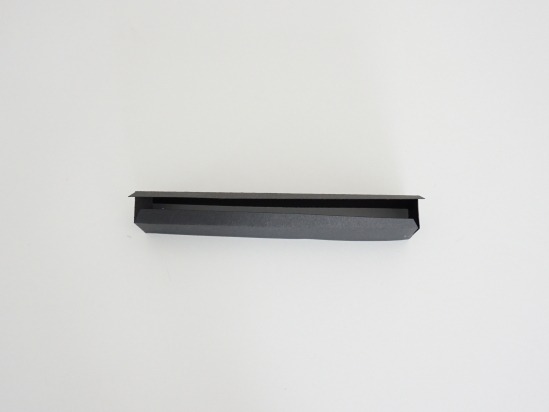
The inside bottom of the box will have seams.
The outside bottom of the box will have seams.
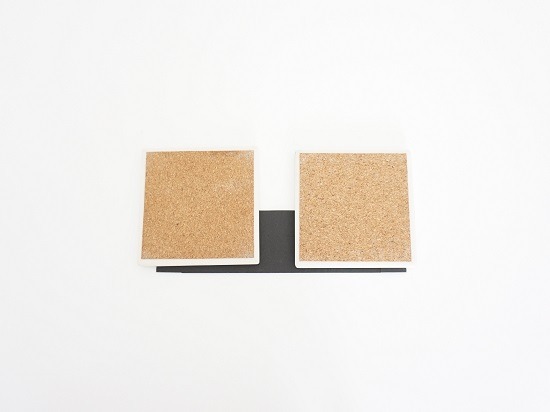
You can cover the seam with the Free SVG Support Panel.
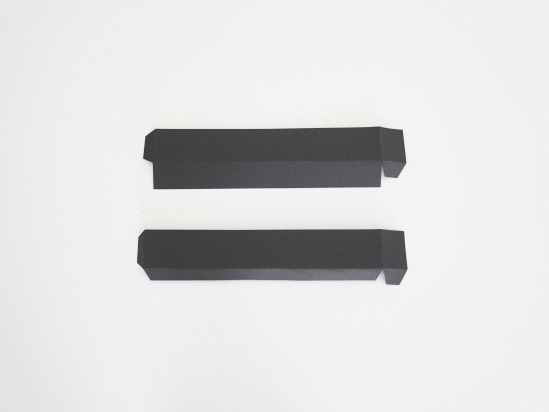
Two Piece B SVG Box Template
- Cut the templates using a cutting machine or scissors.
- Fold on all the dotted guide lines to create creases.
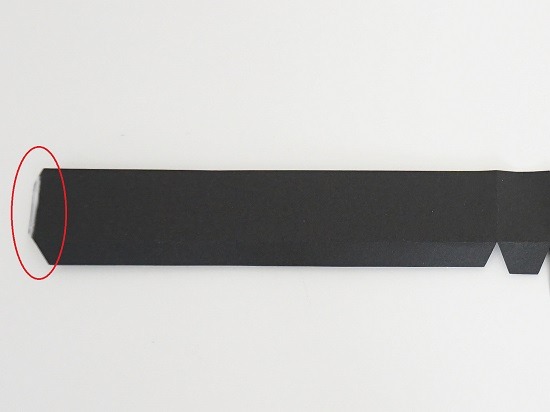
- Place glue and / or two sided tape on the outside of the small side tabs.
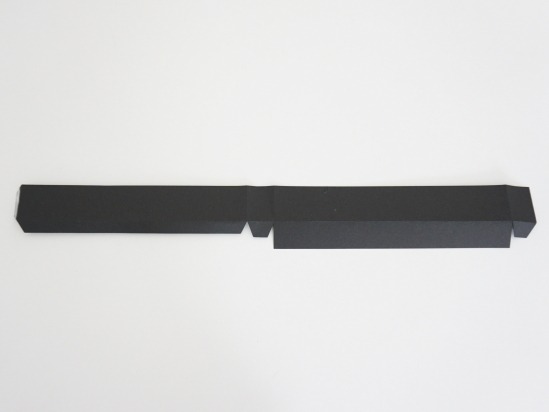
- Adhere the tab of one side to the inside of the other side panel.
- Adhere the second side tab to the inside of the first panel.
- Optional – Lie the template flat on its side and place a weight on the template until the sides are dry. This will help keep the sides from shifting while assembling the bottom.
- Place adhesive on the two bottom small tabs and the corners of the bottom flap.
- Fold the bottom flap onto the small tabs.
- Place adhesive on the top of the first flap and the bottom and sides of the second flap. For larger templates you might want to add an extra line of glue.
- Fold the second flap onto the first.
- Optional – Place weight on the bottom of the box until it dries. This will help the bottom to dry flat.
The inside bottom of the box will have seams.
The outside bottom of the box will have seams.
You can cover the seam with the Free SVG Support Panel.
Assembly Video for Two Piece and Two Piece B Templates
Two Piece B SVG Box Template for Lids
- Cut the templates using a cutting machine or scissors.
- Fold on all the dotted guide lines to create creases.
- Place glue and / or two sided tape on the outside of the small side tabs.
- Adhere the tab of one side to the inside of the other panel.
- Adhere the second side tab to the inside of the first panel.
- Optional – Lie the template flat on its side and place a weight on the template until the sides are dry. This will help keep the sides from shifting while assembling the bottom.
- Place adhesive on the two bottom small tabs and fold the long skinny tab on top.
- Place adhesive on the long skinny tab.
- Fold the top flap onto the skinny tab.
- Optional – Place weight on the box until it dries. This will help the bottom to dry flat.
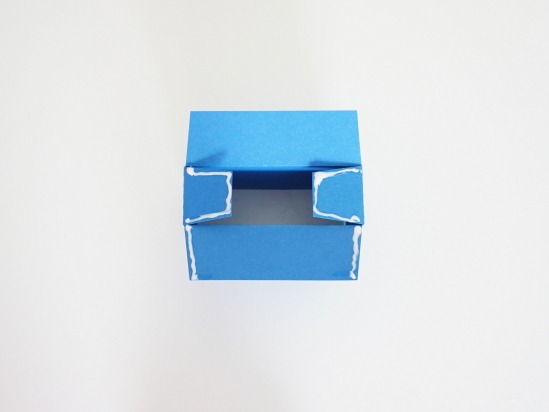
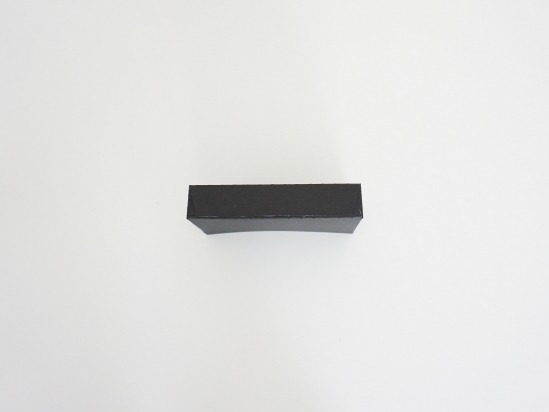
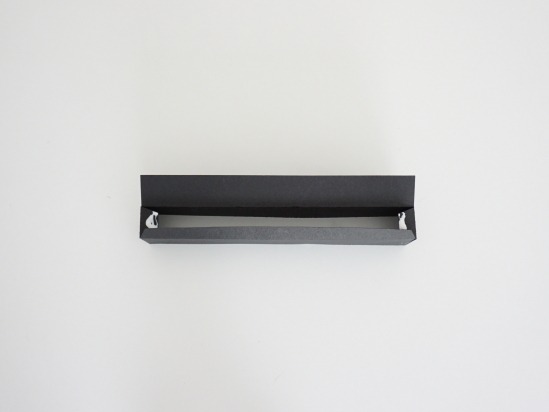
The inside of the box / lid will have seams.
The outside of the box / lid will be solid without seams.
Assembly Video for Two Piece B Lid
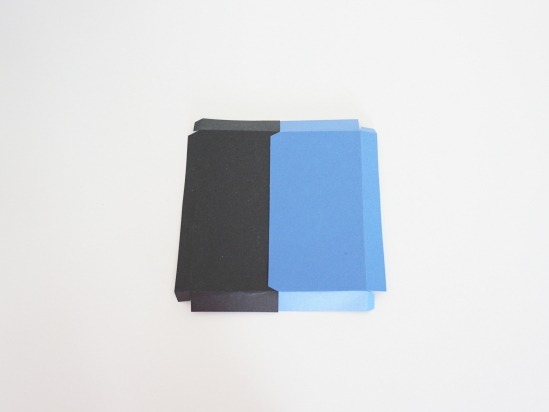
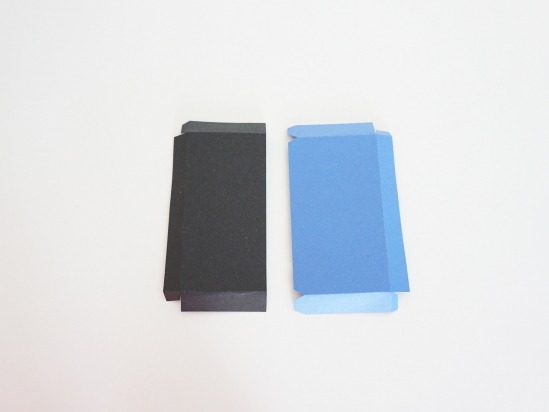
Two Piece C SVG Box Template
This template has two options for assembling.
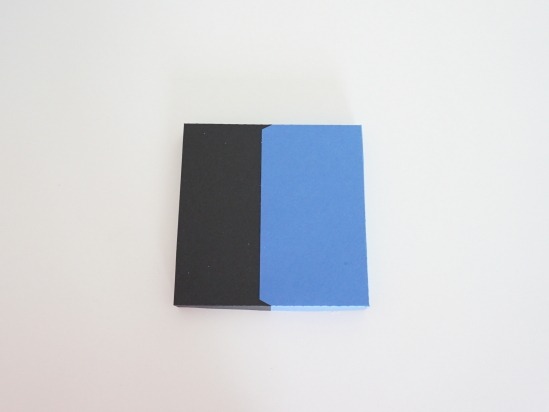
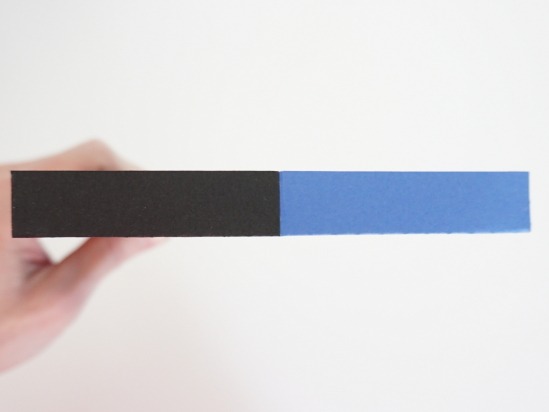
Option 1 – The sides will show the tabs on the outside of the box, but the main center on the outside will be a straight seam.
Option 2 – The sides will be a straight seam on the outside of the box, but the main center will not be straight on the outside.
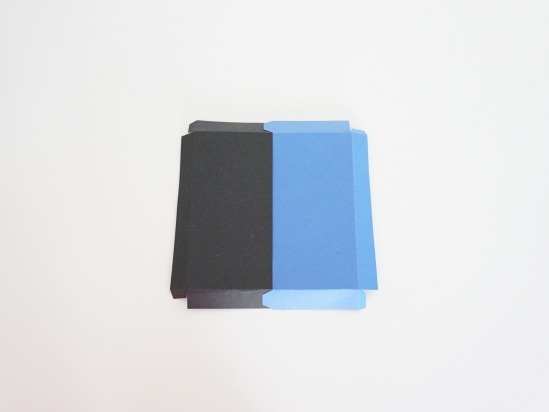
The following instructions will be for Option 2. Assembling the template for a box base, the outside center will be on the bottom and not noticeable. The sides might be seen depending on the height of the box and the lid.
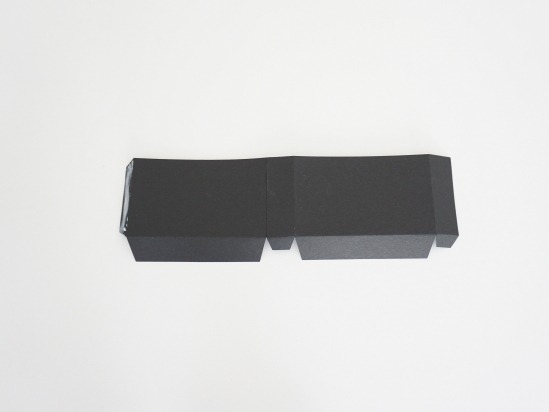
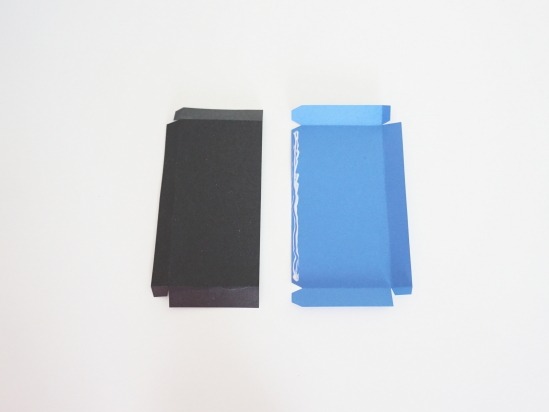
- Cut the templates using a cutting machine or scissors.
- Fold on all the dotted guide lines to create creases.
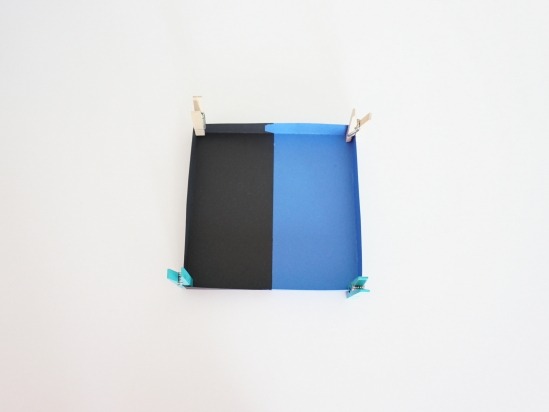
- Place glue and / or two sided tape along the inside of the center tab. (Using the panel with the notches in the middle.)
- Place adhesive on the same panel, but on the outside of the small tabs.
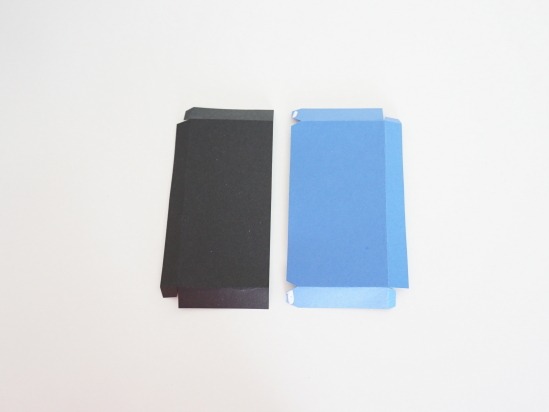
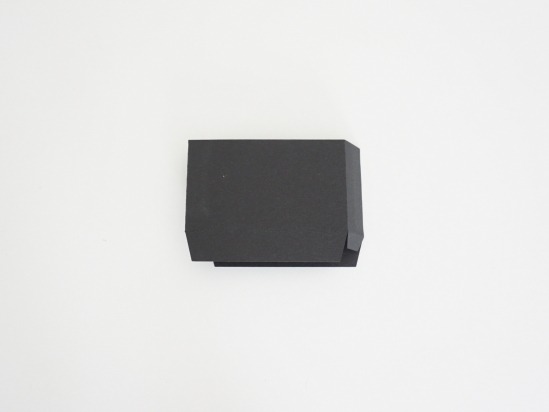
- Slide the two panels together. The large part of the blue will be on the outside of the black panel, and the small tabs will be on the inside.
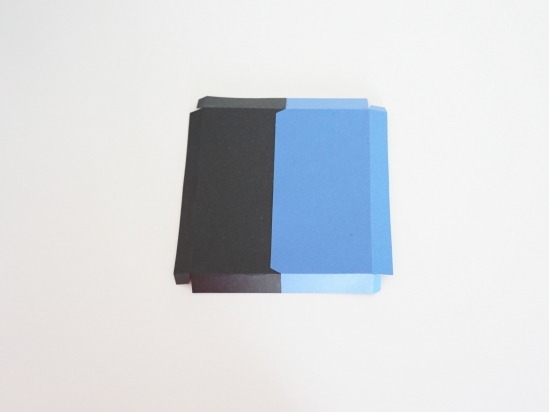
- Optional – Place weight on the template until dry. This will help the box remain flat.
- Place adhesive on the outside of the four small side tabs.
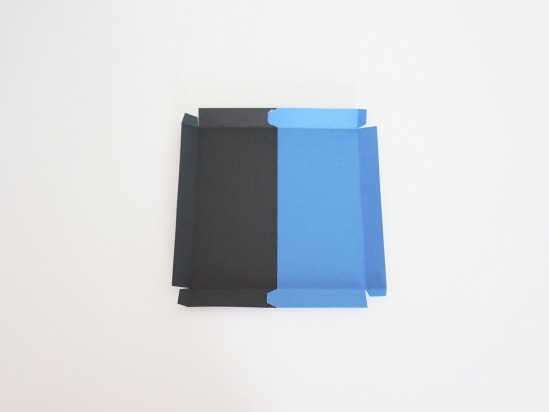

- Join the small tabs to the inside of the adjacent sides.
- The inside bottom has a straight seem. The outside bottom shows the tab notches.
- The outside side has a straight seam.
- You can cover the bottom seam with the Free SVG Support Panel.
Or the Free SVG Box Lid Decorative Panels has 5 panels to cover all areas.