NEW PRODUCTS


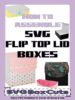
Main and One Piece SVG Box Template Assembly Instructions
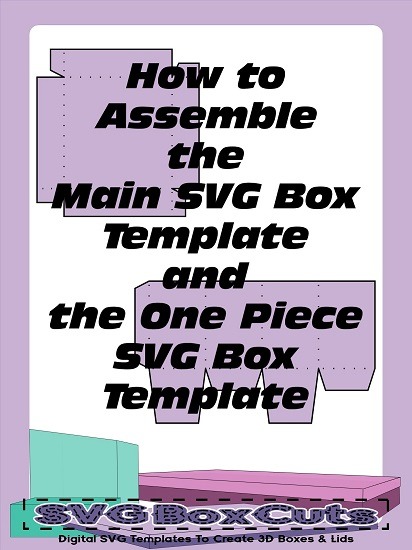
This page gives written and video instructions for assembling our “Main” SVG box template and our “One Piece” SVG box template.
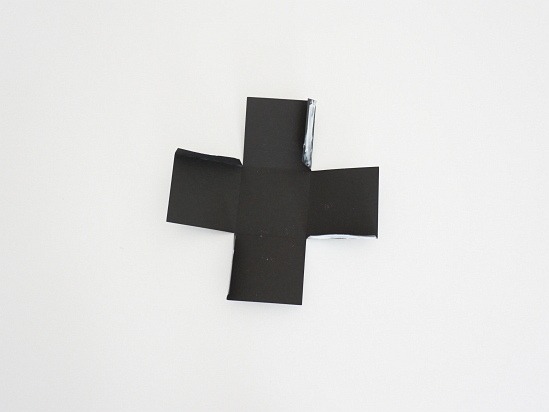
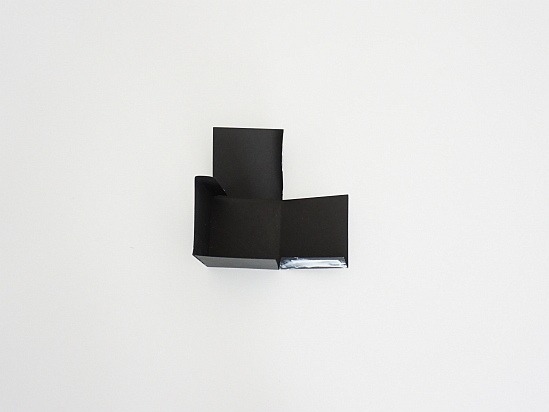
Main SVG Box Template
This template is used for the majority of the lids and for some of the base templates.
- Cut the templates using a cutting machine or scissors.
- Fold on all the dotted guide lines to create creases.
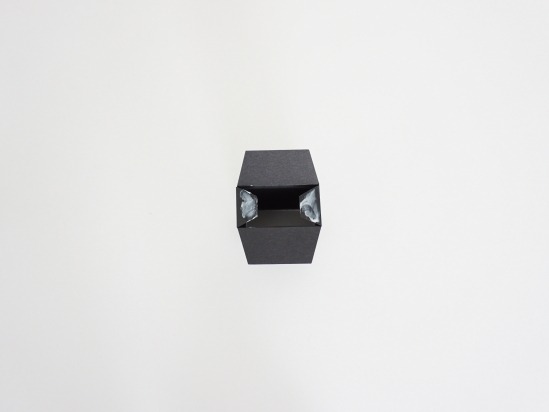
- Place glue and / or two sided tape on the outside of the small tabs.
- Adhere the tabs to the inside of the adjacent sides.
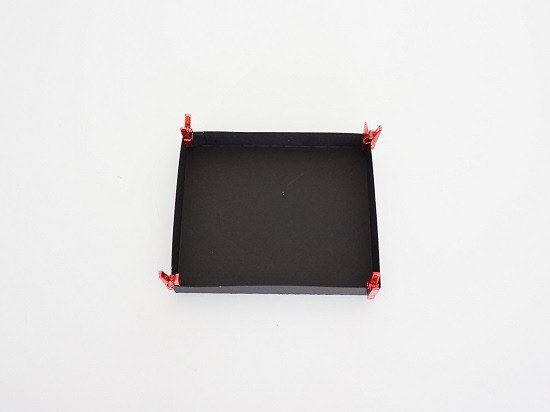
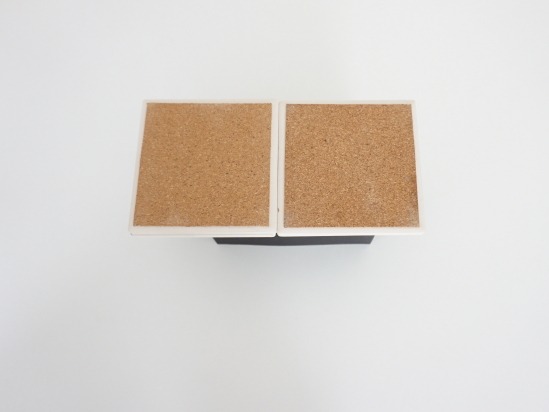
Taller boxes using this style may look a little different.
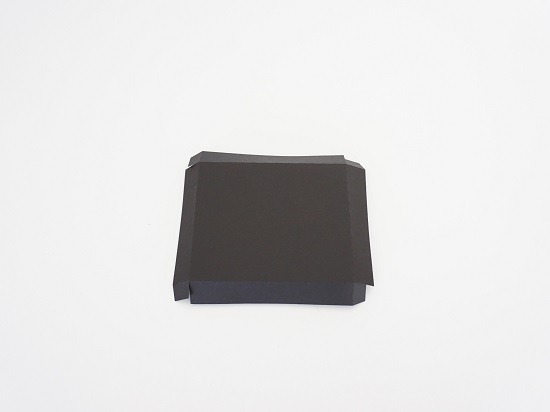
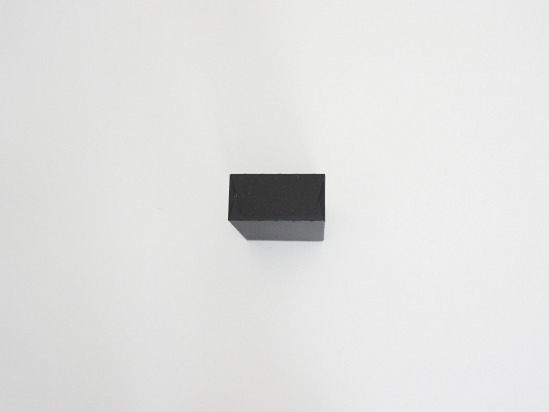
The inside bottom of the box will be solid without seams.
The outside bottom of the box will be solid without seams.
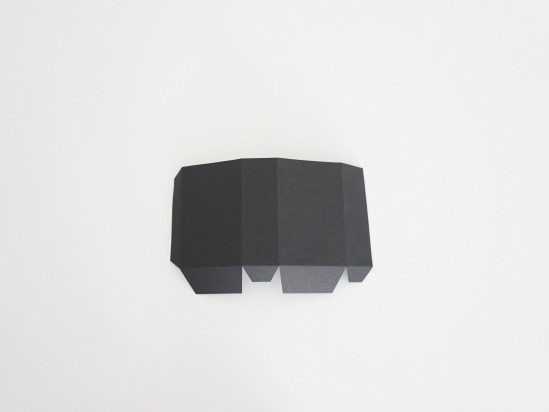
One Piece SVG Box Template
- Cut the templates using a cutting machine or scissors.
- Fold on all the dotted guide lines to create creases.
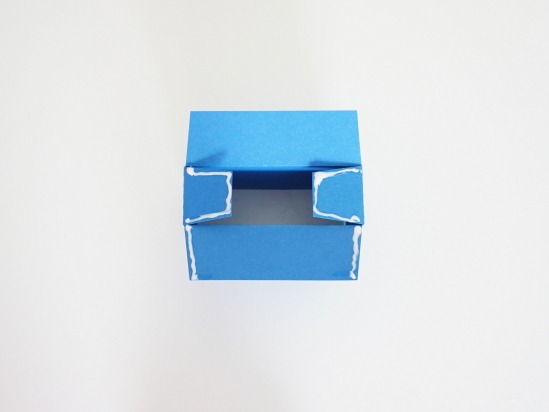
- Place glue and / or two sided tape on the outside of the small side tab.
- Adhere the tab to the inside of the other side.
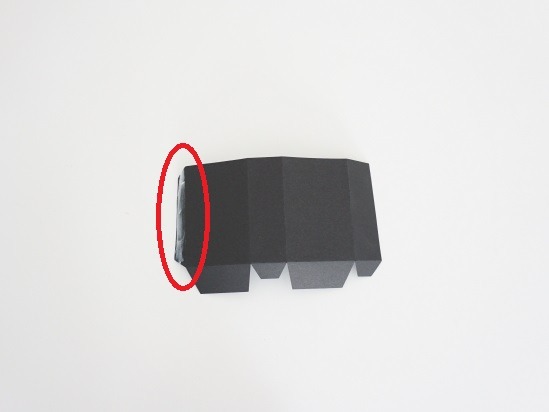
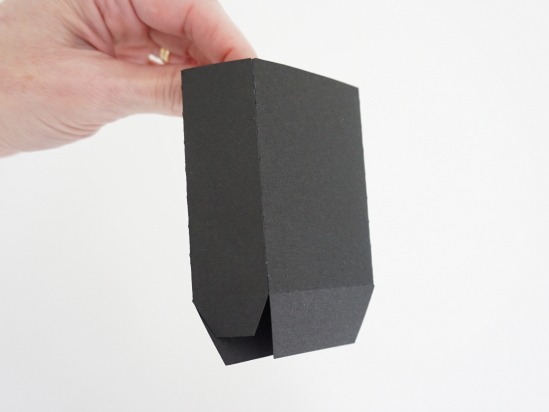
- Optional – Lie the template flat on its side and place a weight on the template until the side is dry. This will help keep the side from shifting while assembling the bottom.
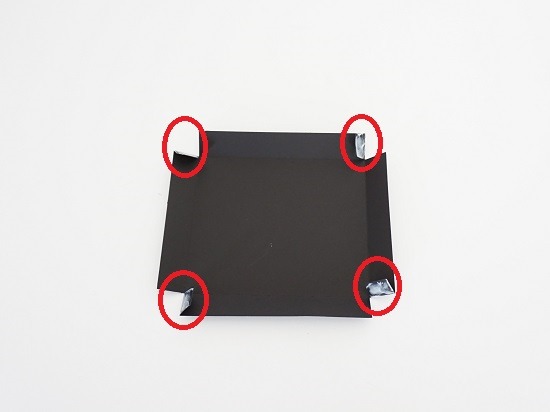
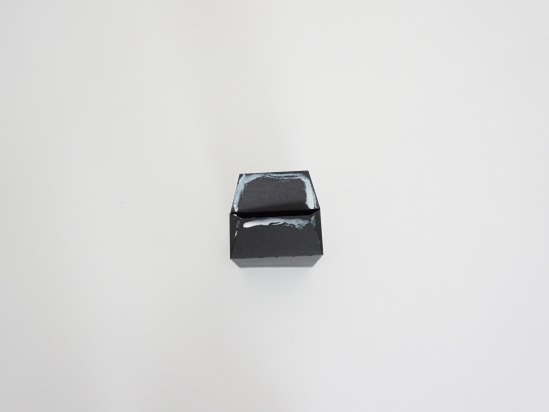
- Place adhesive on the two bottom small tabs.
- If the template is larger you might want to add adhesive to the corners of the bottom flap.
- Fold the bottom flap onto the small tabs.
- Place adhesive on the top of the first flap and the bottom and sides of the second flap.
- Fold the second flap onto the first.
- Optional – Place weight on the bottom of the box until it dries. This will help the bottom to dry flat.
The inside bottom of the box will have seams.
The outside bottom of the box will have seams.
You can cover the seam with the Free SVG Support Panel.