NEW PRODUCTS


DIY – How to Use Your Favorite Thin Paper for a Sturdy 3D Boxes
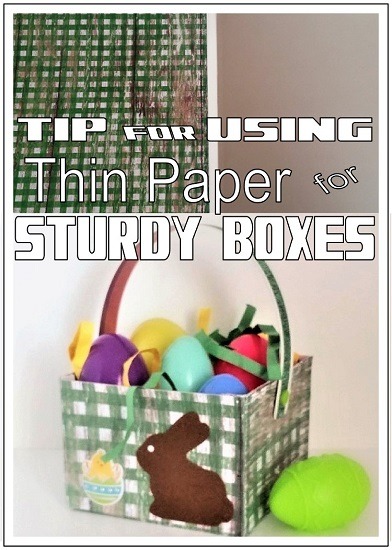
This page demonstrates a tip for being able to convert thin scrapbook paper so it can be used to create sturdy 3D boxes.
A video is located at the end of this page.
1. Select a piece of cardboard the size of your paper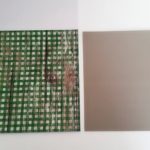
2. Water down your glue.
There is not a precise ratio of water to glue. Just make sure the glue still looks white and not clear. The glue should run off of a paint brush not fall off in clumps.
I have used many different varieties of glue (school glue, tacky glue, even a mixture of different kinds of glue), and so far they all have worked. If you have any concerns, try your mixture on a scrap piece first.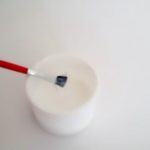
3. Apply a THIN layer of the watered down glue to the back of your scrapbook paper or to the top of your cardboard using an old paint brush.
Cover the entire area as quickly as possible, so it does not begin to dry before you are finished.
Make sure there are not any globs of glue on the paper.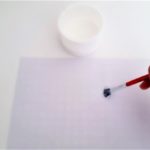
4. Place the paper on top of the cardboard and smooth out any wrinkles or bubbles. You should not be able to tell there is glue between the two.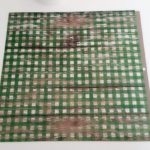
5. Place something heavy on top of the paper and cardboard until it dries COMPLETELY.
Do not try to run this through a cutting machine until it is completely dry or the blade will get stuck in the glue.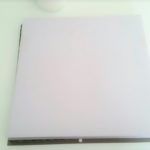
6. Once it is dry completely you can place the cardboard/paper on your mat, and cut the SVG template for your box.
Be sure to change the cut settings in your program to match the thickness of the cardboard you used.
7. Assemble the cut SVG box template as usual.