NEW PRODUCTS


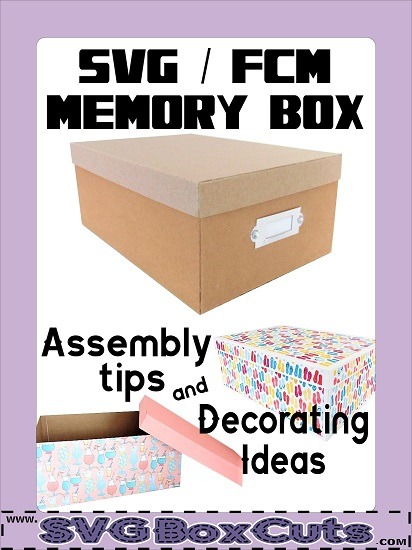
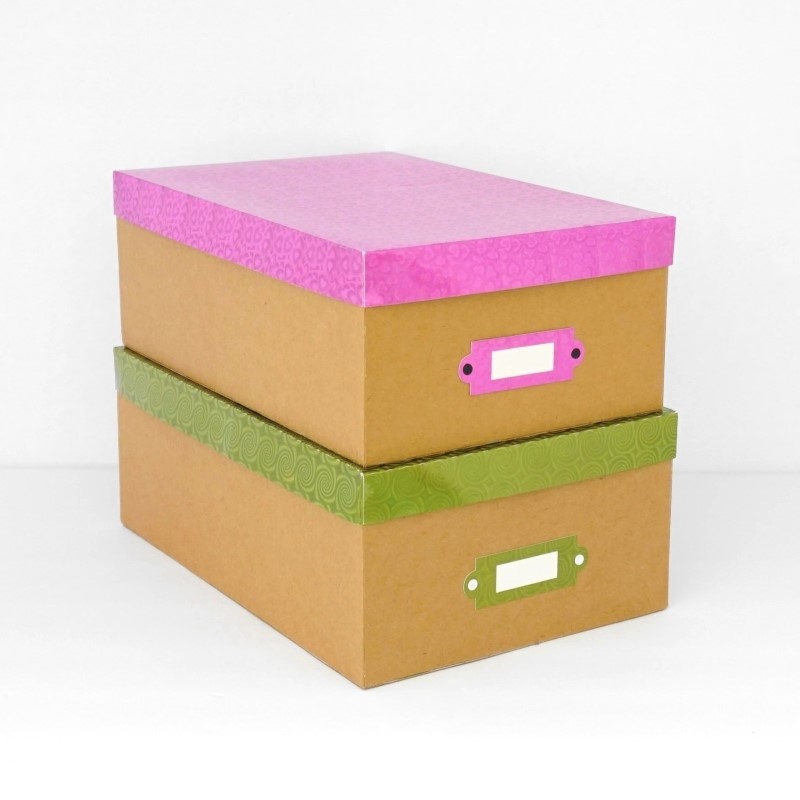
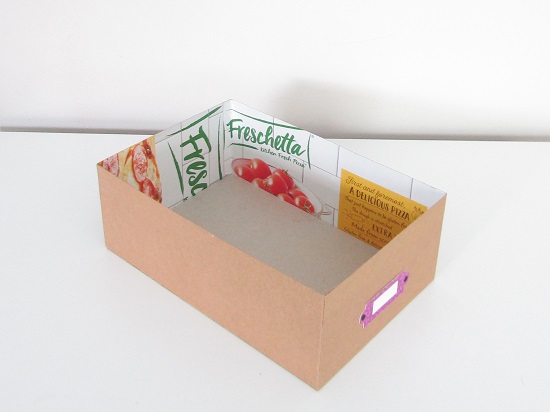
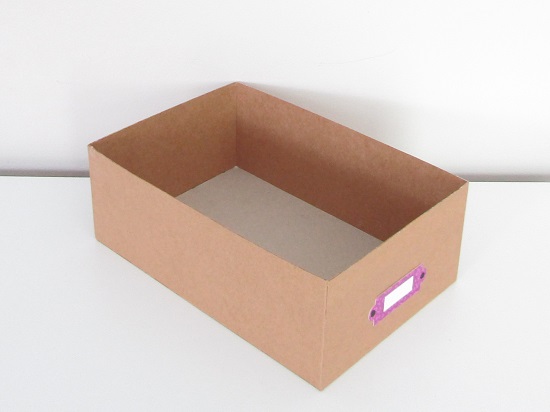
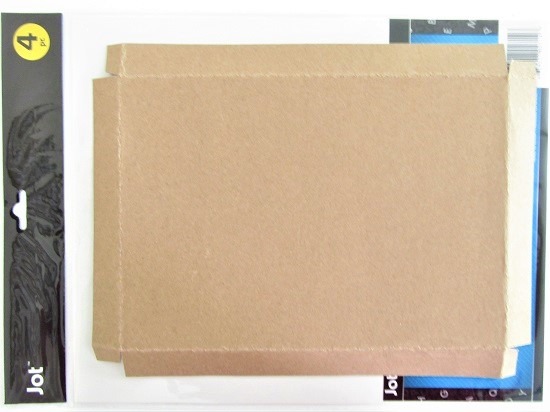
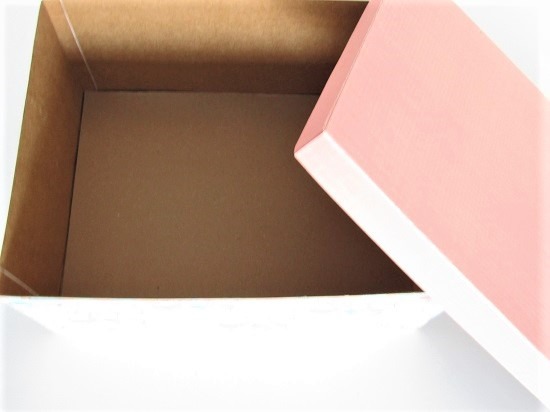
I am so excited about the latest SVG box template. I have created a SVG Memory Box comparable to the size of the Memory Box sold by Recollections at Michael’s.
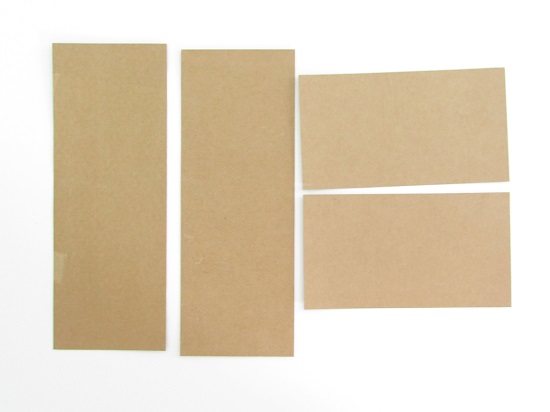
The SVG Memory Box Set zip file includes the SVG box base, SVG box lid, SVG decorative panels for the base and lid, plus SVG support panels to give more strength to the bottom of the box, lid and sides of the box. (There is also a zip folder with the FCM format.)
In this blog post I am going to give you a few tips and ideas for decorating the SVG Memory Box.
Assembling the SVG Memory Box Base and Lid
- Follow the instructions for assembling a 4 Piece Template. (If you purchased the template requiring a 12×24 Mat you will also need to follow the instructions for our Main SVG template.)
- Click here for written instructions.
Optional Extra Support or Interior Decoration
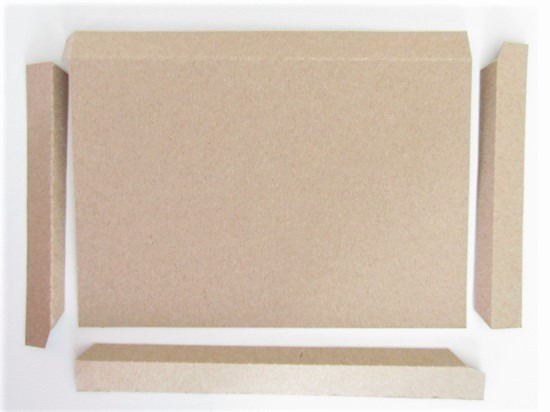
The template set includes inside support panels for the bottom of the base, the sides of the base, and the inside of the lid. You might want to add the bottom and side supports for the base if you are going to be using your box frequently or if you have thin cardboard. The extra support will give you more stability.
- Place the bottom support panel in the box. You may glue it or just let it sit.
- Then adhere the side supports inside the box.
- Depending on the thickness of material used on the outside and inside, you might have to slightly trim some of the length off of the panels, so they fit snug inside without buckling.
- The inside supports can be used to cover scrap cardboard or as a way to hide the seams.
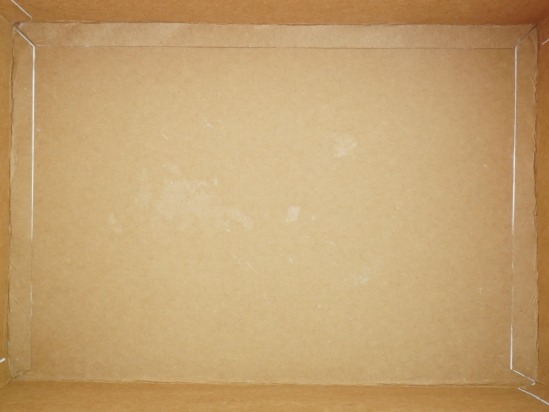
- The supports are also great for decorating the inside of the boxes.
Tips to help assemble the SVG Memory Box
Tip 1:
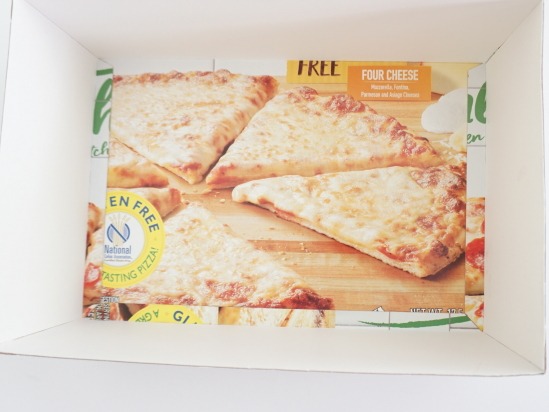
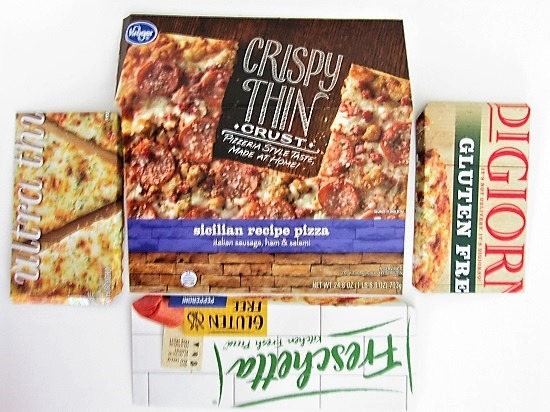
Use chipboard or cardboard for a sturdier box. You can use large cereal boxes, frozen pizza boxes, or the cardboard covers on scrapbook paper pads just to name a few.
Tip 2:
Use two sided tape and glue and / or use a very high quality quick grab glue. The templates are large and trying to hold the sides together while it dries will take a while if you only use regular glue.
Tip 3:
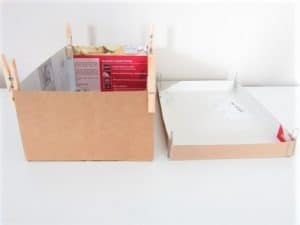
Use paper clips or clothes pin to hold the template corners in place while it dries completely.
You can also assemble one corner at a time and place a heavy object on it while it dries a little before moving to the next corner. (This will help if you are having trouble with the seams gapping along the edge.)
Tip 4:
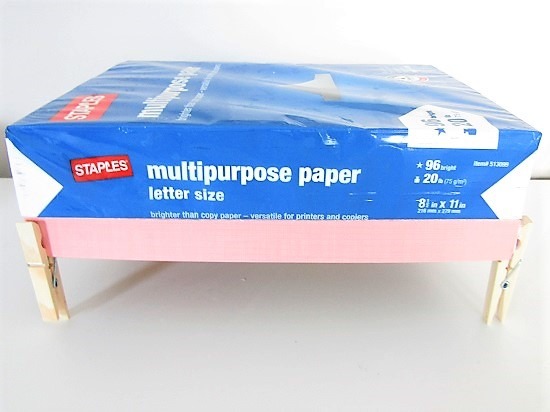
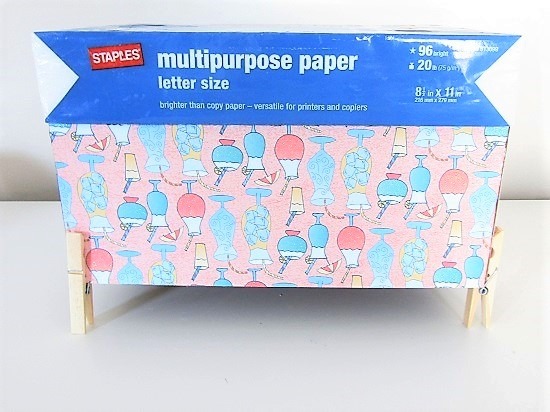
Place a heavy item on the template to hold the long edges down while drying.
Tip 5:
If you are going to use a thick cardboard consider an extra “scoring” of the score lines. This is not necessary, but may make it easier. The templates come with dotted lines for you to use as your guide for folding the tabs. (I do not make the dotted lines large, so they are not as noticeable when the box is assembled.) However, it will make it easier to fold heavy cardboard if you do an additional score over the dotted lines.
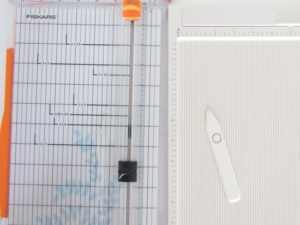
Image on the left shows a paper cutter with a scoring tool, and on the right is a scoring board.
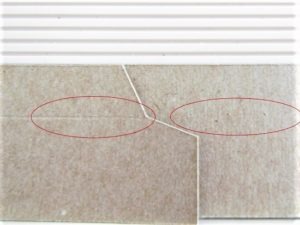
The Image above on the left has an added score line, and on the right is just the dotted cut guide lines.
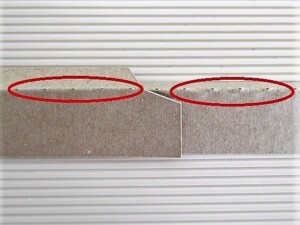
The image below shows the difference of the two after folded.
If you know how to adjust lines in your cutting programs for electronic paper cutters you can change or add scoring lines before cutting the templates.
How to Convert Dotted Cut Lines to Scoring for Silhouette
How to Convert Dotted Cut Lines to Scoring for Cricut
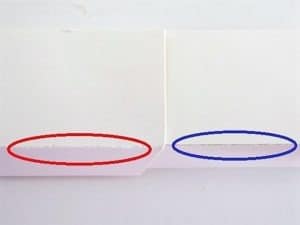
Silhouette blade depth set at zero in red. Blade depth set at one in blue.
Tip 6:
If you have the capability to cut 11×14 material, consider getting the SVG Memory Box Set for a 12×24 mat. The LID template is made from our main template design which is one large template. You will only have to glue together the corner tabs which may be easier than a 4 piece template used for the 12×12 mat.
Tip 7: Workaround for Cricut Users to use a 12×12 mat.
In Cricut Design Space SVG templates must be less than 11.5 inches wide and 11.5 inches tall if using a 12×12 mat. If using a 12×24 mat, the templates still must be under 11.5 inches wide.
The original SVG Memory Box Set A (11×7.5×4.25) base template is wider and longer than Cricut Design Space will allow for a 12×12 mat. One piece of the box base template is 11.5 inches wide x 11.75 inches in height. I was still able to use a 12×12 mat, and here is what I did.
- Upload the template into Cricut Design Space.
- Change the color to anything light, so you can see the lines.
- Ungroup the pieces
- Re-select each piece individually and “Attach” the dotted lines.
- Change the color of the largest piece, so it will be on a separate mat when you go to cut.

- When you get to the cutting screen Cricut will tell you a 12×24 mat needs to be used. Select okay.
- When you are ready to cut the large template piece, line up your 12×12 paper slightly below the zero line on your 12×12 mat.
- Proceed with cutting as instructed.
- Keep an eye on your mat to make sure you lined up your paper in the correct area.
*This is simply an explanation as to how I used my 12×12 mat. Please use a 12×24 mat and slightly larger than 12×12 material if you are not comfortable trying to guess about cardstock placement.
SVG Memory Box B (10.75×7.25×4) is available and fits 12×12 mat in Cricut Design Space.
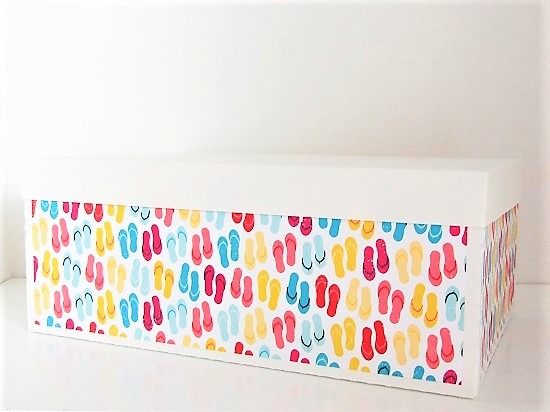
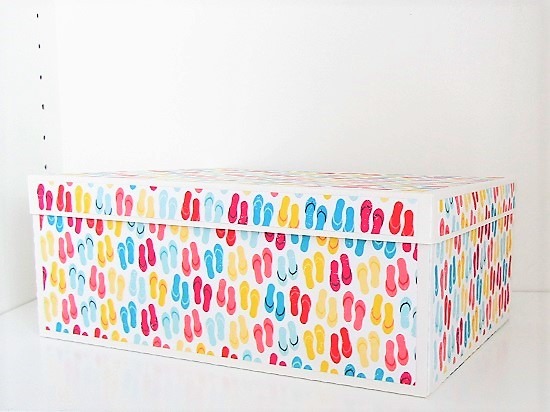
Decorating Ideas for the SVG Memory Box
Decorating Idea Number One
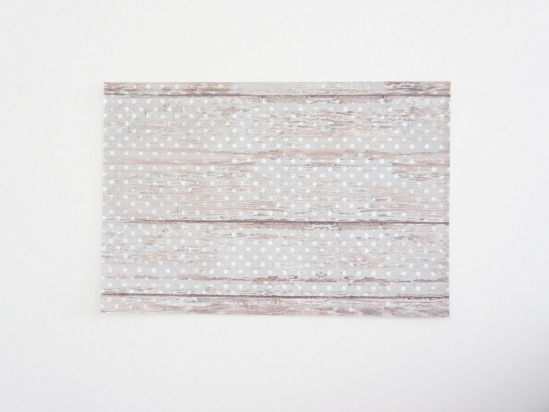
Use the SVG decorative panels included in the file to decorate the base and or the lid.
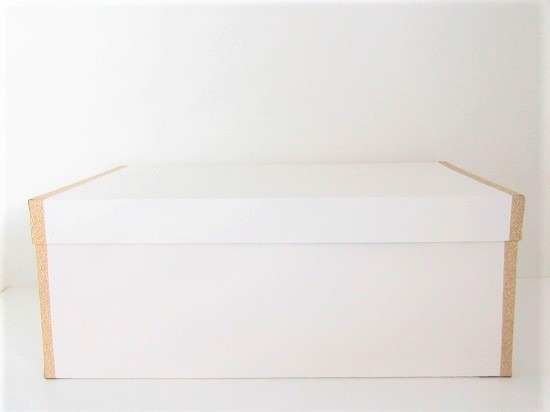
Decorating Idea Number Two
Use Washi Tape or Decorative Duct Tape to cover the corners.

Decorating Idea Number Three
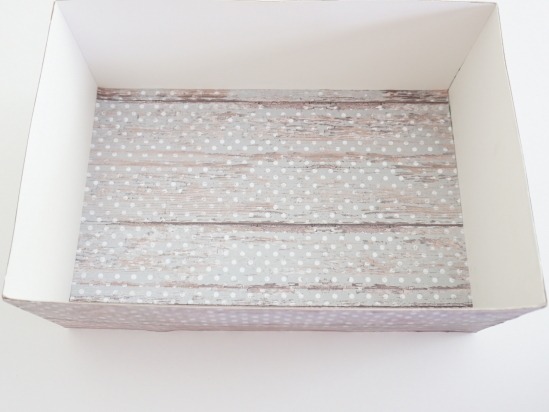
Using this method allows you to use upcycled cardboard and the inside of the box still looks uniform.
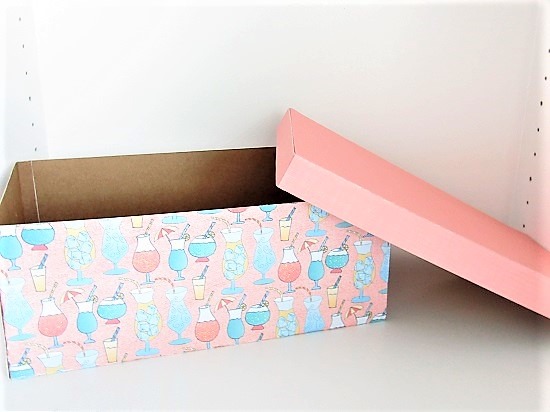
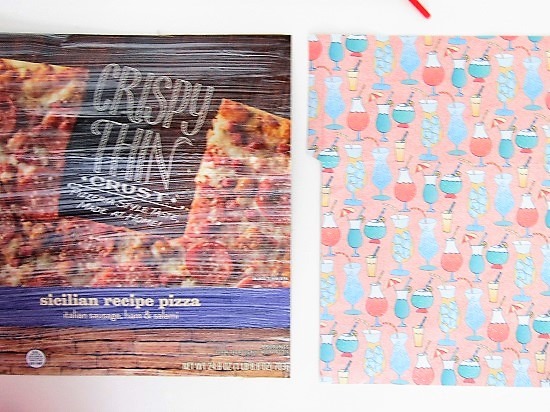
Cut the SVG box base and SVG box lid templates from cardboard, poster board or heavy cardstock. Then cut the templates a second time from your favorite decorative paper.
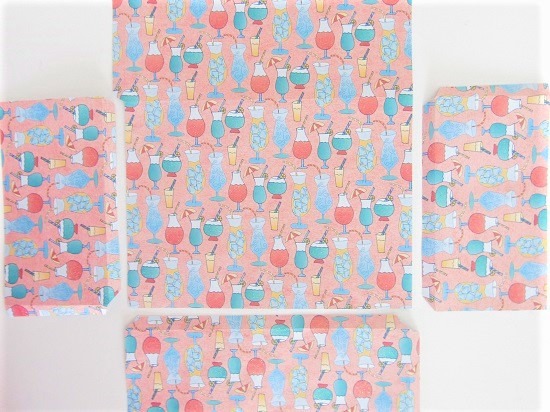
Make a watered down glue paste. Cover every inch of the cardboard with a THIN layer of the glue and then place the decorative paper directly on top.
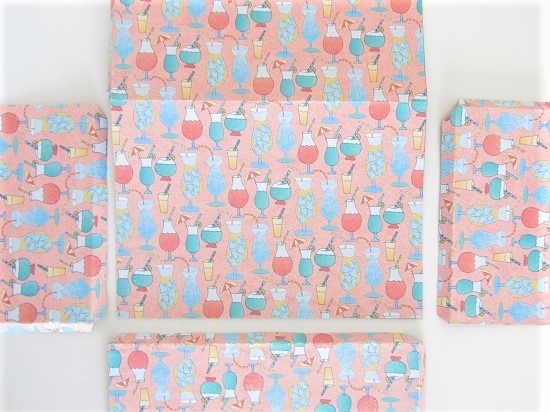
Put something heavy on the entire template and allow the glue to dry completely before assembling the box.
Please see our Four Piece Basic Instruction Page for more information on assembling the 4 piece SVG box template.
Decorating Idea Number Four
Add our SVG Bookplate and Insert to label what is inside.